Ubuntu Setup Guide
This guide is a walkthrough tutorial on setting up UH VPN for a machine running Ubuntu. This machine can be either virtual or physical, but must satisfy the following requirements:
OS: Ubuntu 20.04 (focal), 22.04 (jammy) or 24.04 (noble)
RAM: minimum 100MB (1GB preferable)
Network: Machine accessible either by public IP address, hostname or dynamic DNS.
This particular guide can be adapted to suit any cloud providers offering Ubuntu instances as well as on-premise machines configured with Ubuntu.
If you wish to explore UH VPN advanced options or modify the sample deployments consult the extensive documentation on this site.
Step 1: Satisfying prerequisites
Note down the public IPv4 address of the Ubuntu machine. This IP address needs to point directly at the Ubuntu machine and not at a router or intermediate gateway.
Ensure that the ports
UDP 443andTCP 2802are open on your Ubuntu instance if a firewall is configured. This guide will set up UH VPN clients to connect overUDP 443so this port must be open. Server configuration updates are pushed overTCP 2802by the UH VPN API so this port must also be open.Ensure that either an SSH connection or console access to the machine is available.
Step 2: Create a Server on the UH VPN Website
The UH VPN website is the command and control centre for the VPN deployment. All VPN settings are managed through this interface. The first step (if you haven’t done so already) is to purchase UH VPN. Once this is done, simply login and click on the group name that has been created for you and the following page will be presented:
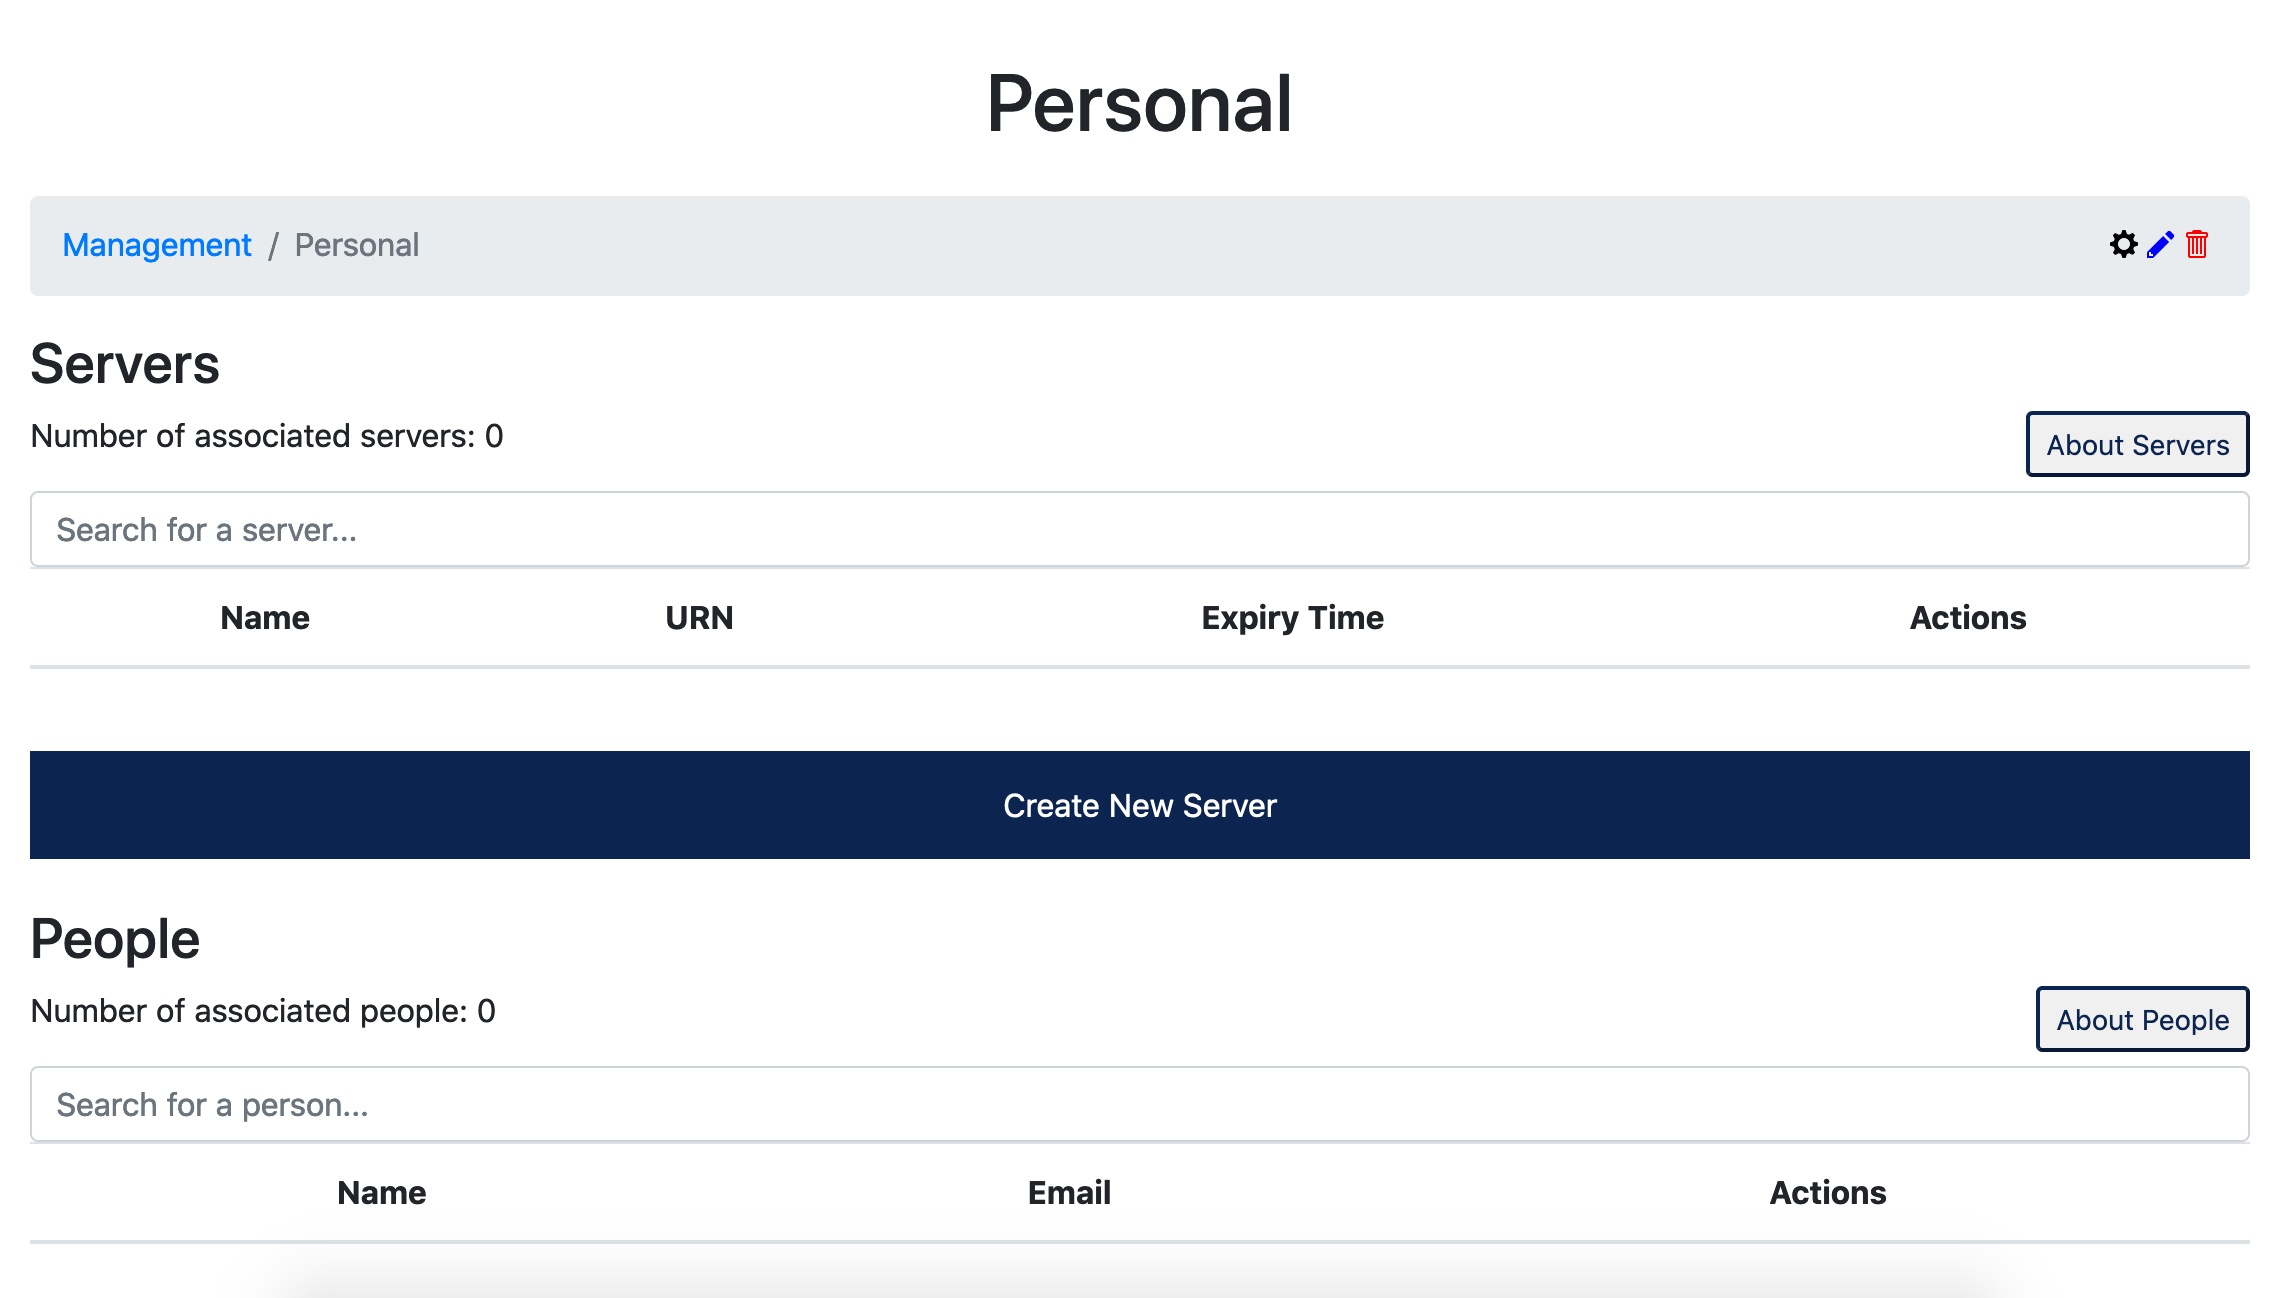
The first step is to create a UH VPN server, click the “Create New Server” button and the following page will be presented:
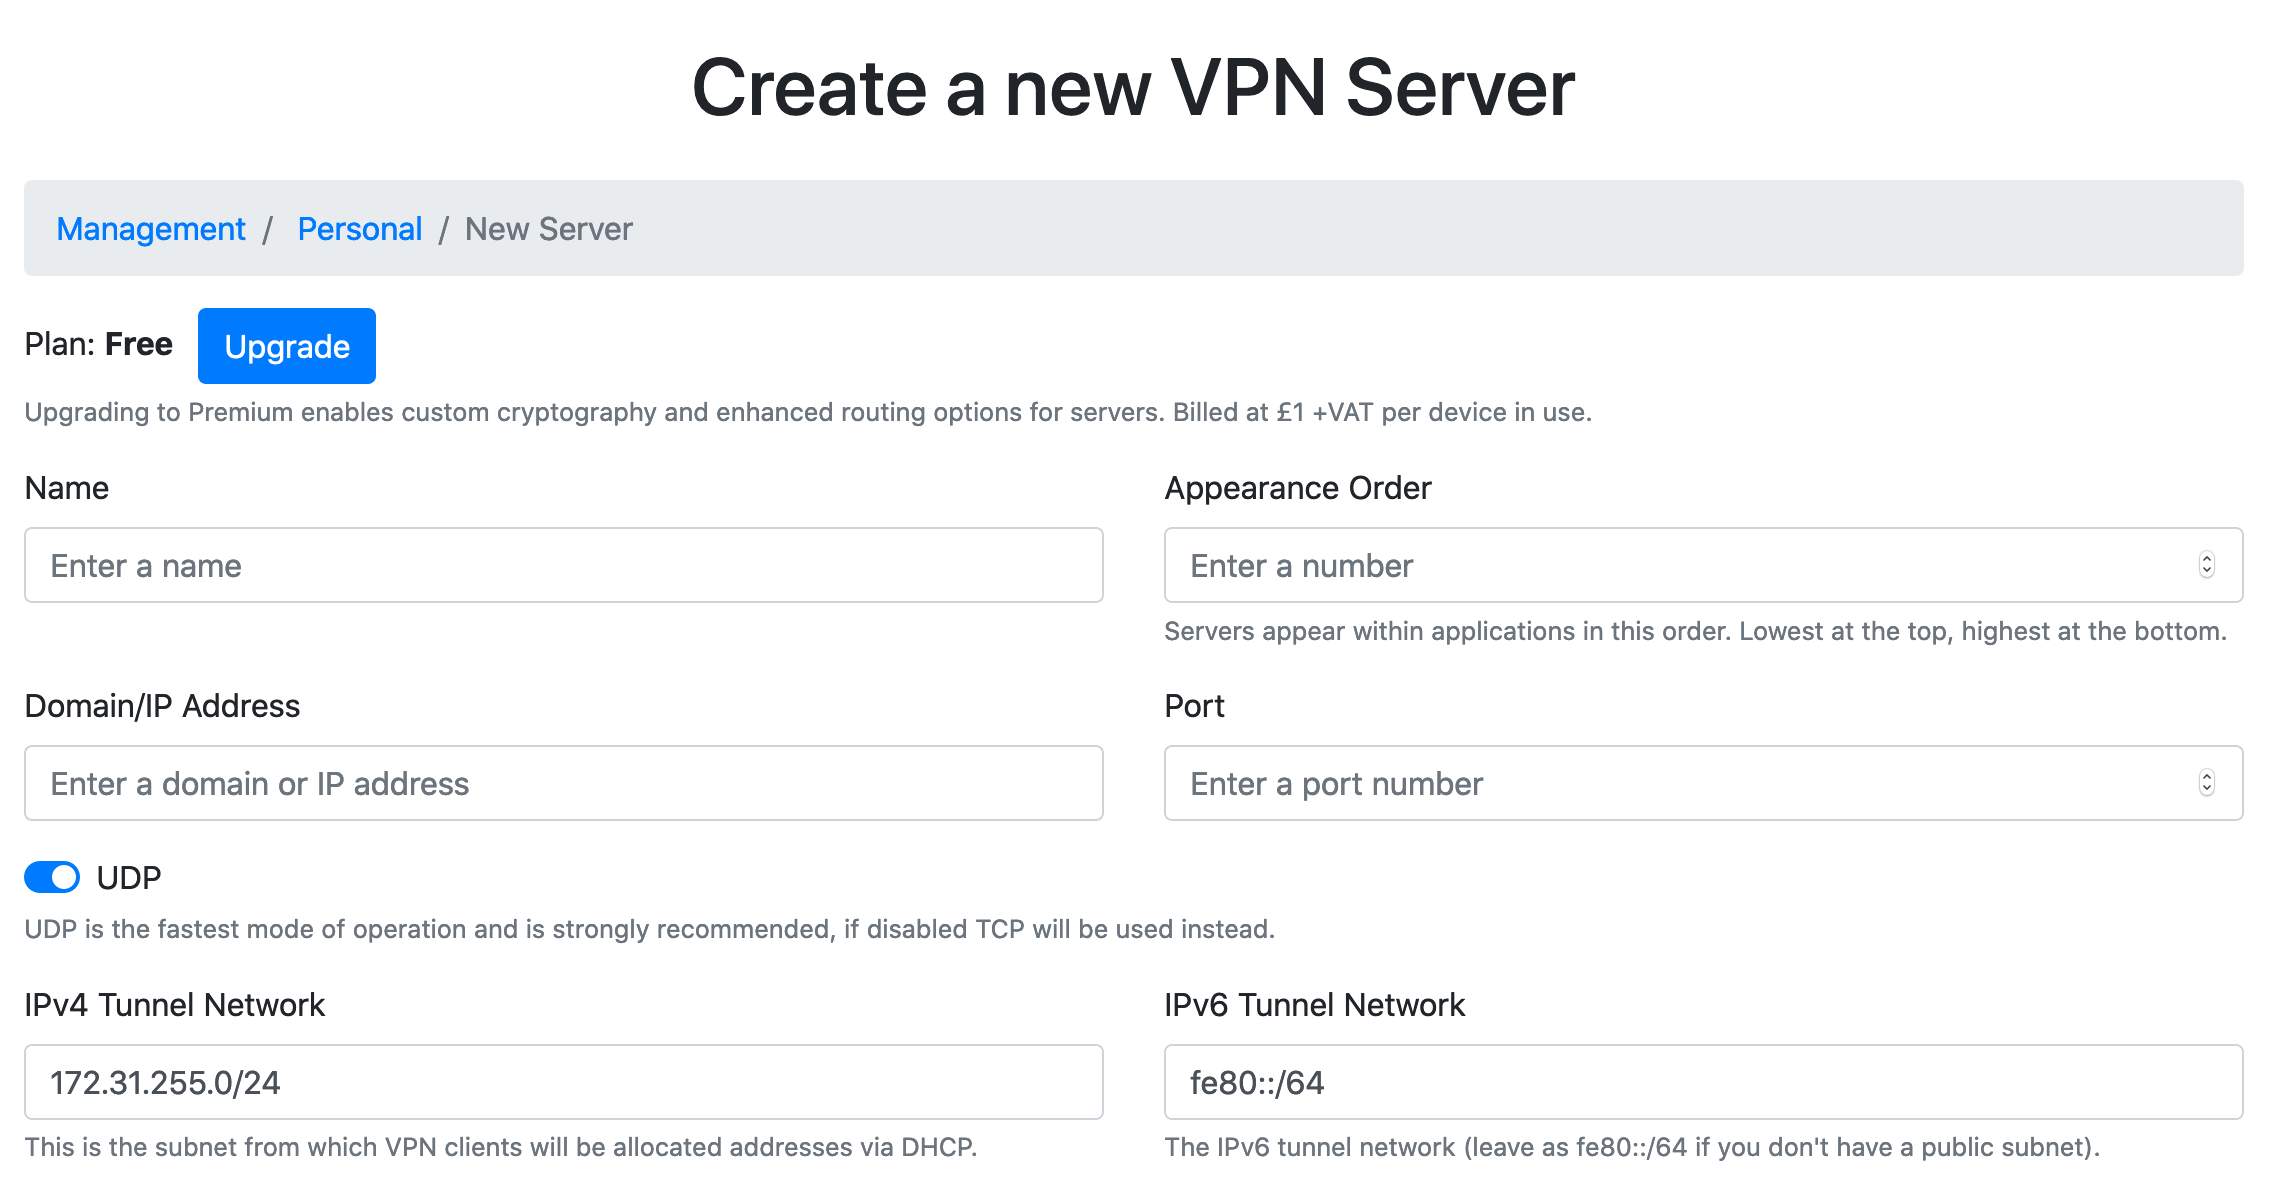
Enter the following parameters:
Name : UDP
Appearance Order : 0
Domain/IP Address : IPv4 Address noted from the Ubuntu machine earlier
Port : 443
UDP : Enabled
IPv4 Tunnel Network : 172.31.255.0/24
IPv6 Tunnel Network : fe80::/64
DNS Servers : 1.1.1.1, 1.0.0.1
Add Forwarding Rule : Enabled
Add NAT Rule : Enabled
Press submit and the server will then be created.
Note
A full description of all parameters can be found on the server creation docs page.
Once created, press the  icon to obtain a UH VPN API token for the server. Copy
and paste this to somewhere safe as it’ll be used later.
icon to obtain a UH VPN API token for the server. Copy
and paste this to somewhere safe as it’ll be used later.
Step 3: Configuring the Ubuntu Server
Now it’s time to SSH into the Ubuntu Server.
The first step is to install the required dependencies:
sudo apt-get update
sudo apt-get install software-properties-common
Then it’s time to add Ultra Horizon’s package archive to the system sources:
sudo add-apt-repository ppa:ultrahorizon/ppa

A prompt will then display information about the repository, accept this, then download the package information from this newly added archive:
sudo apt-get update
Once this is done, UH VPN Server software can now be downloaded through the apt package manager.
sudo apt-get install uh-vpn-server
Once installed check that the UH VPN Service is running:
sudo service uh-vpn-server status
The output should say active (running) as depicted below:

Then to ensure UH VPN Server starts at boot, issue the following command:
sudo systemctl enable uh-vpn-server
Next it’s time to add the UH VPN Server API token we obtained earlier. This will enable the UH VPN Server software to set up the VPN server on our server.
sudo nano /etc/uh-vpn-server/tokens
This will bring up an editor prompt like so:
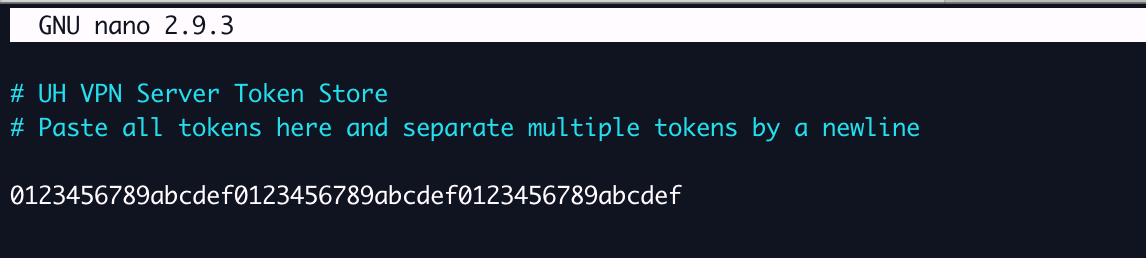
In this example, the token (0123456...) has been appended to the file. Once this is done,
save the file and exit the editor (Ctrl-X in nano).
Now the server simply needs to be restarted in order to detect the new token:
sudo service uh-vpn-server restart
The server is now configured and ready to accept incoming VPN connections!
Note
For advanced configurations of the server software follow the server documentation.
Step 4: Installing Client Apps
This is the final step in the set up process. First login to the UH VPN website and navigate to the group you created earlier. Now it’s time to make a new person who’s authorised to access the VPN server you just created. Click the “Create New Person” button and the following page will be presented:
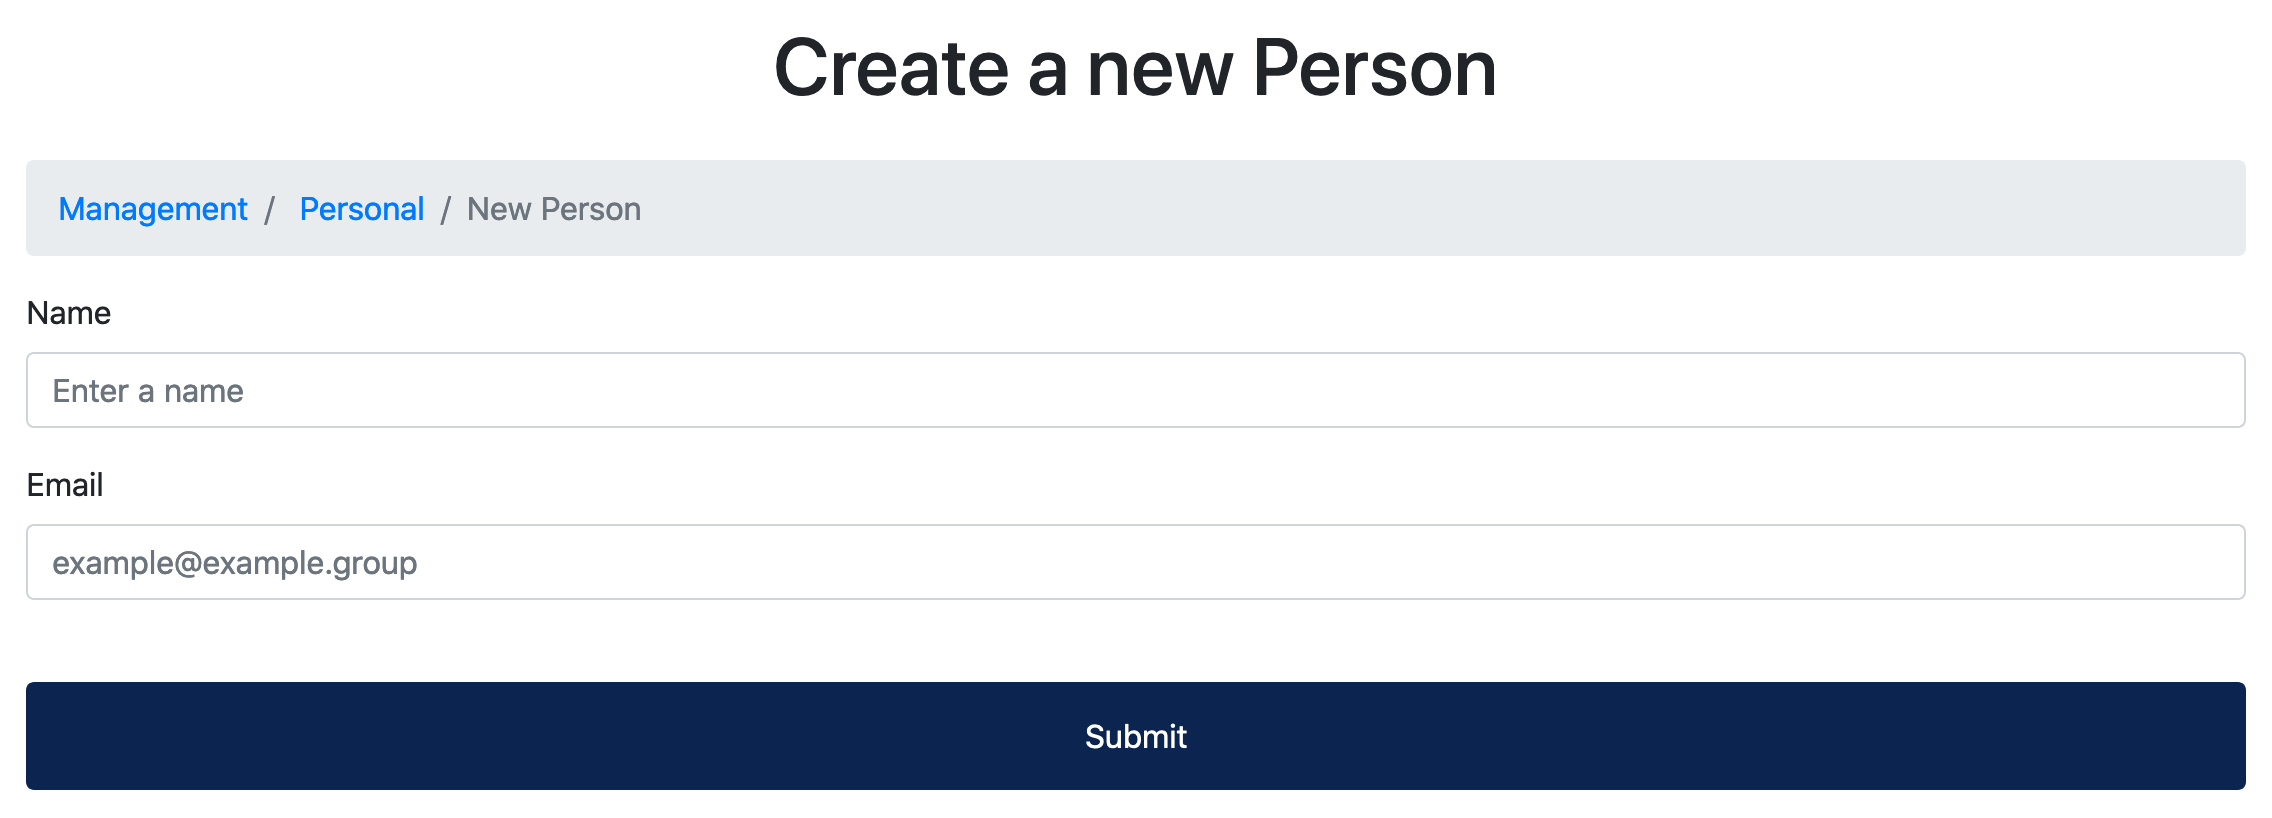
Enter your name and email address, then press submit and the person will then be created.
Next it’s time to associate a device to the person that’s just been created. To do so, click the name of the person and then press the “Add new device” button and the following page will be presented:
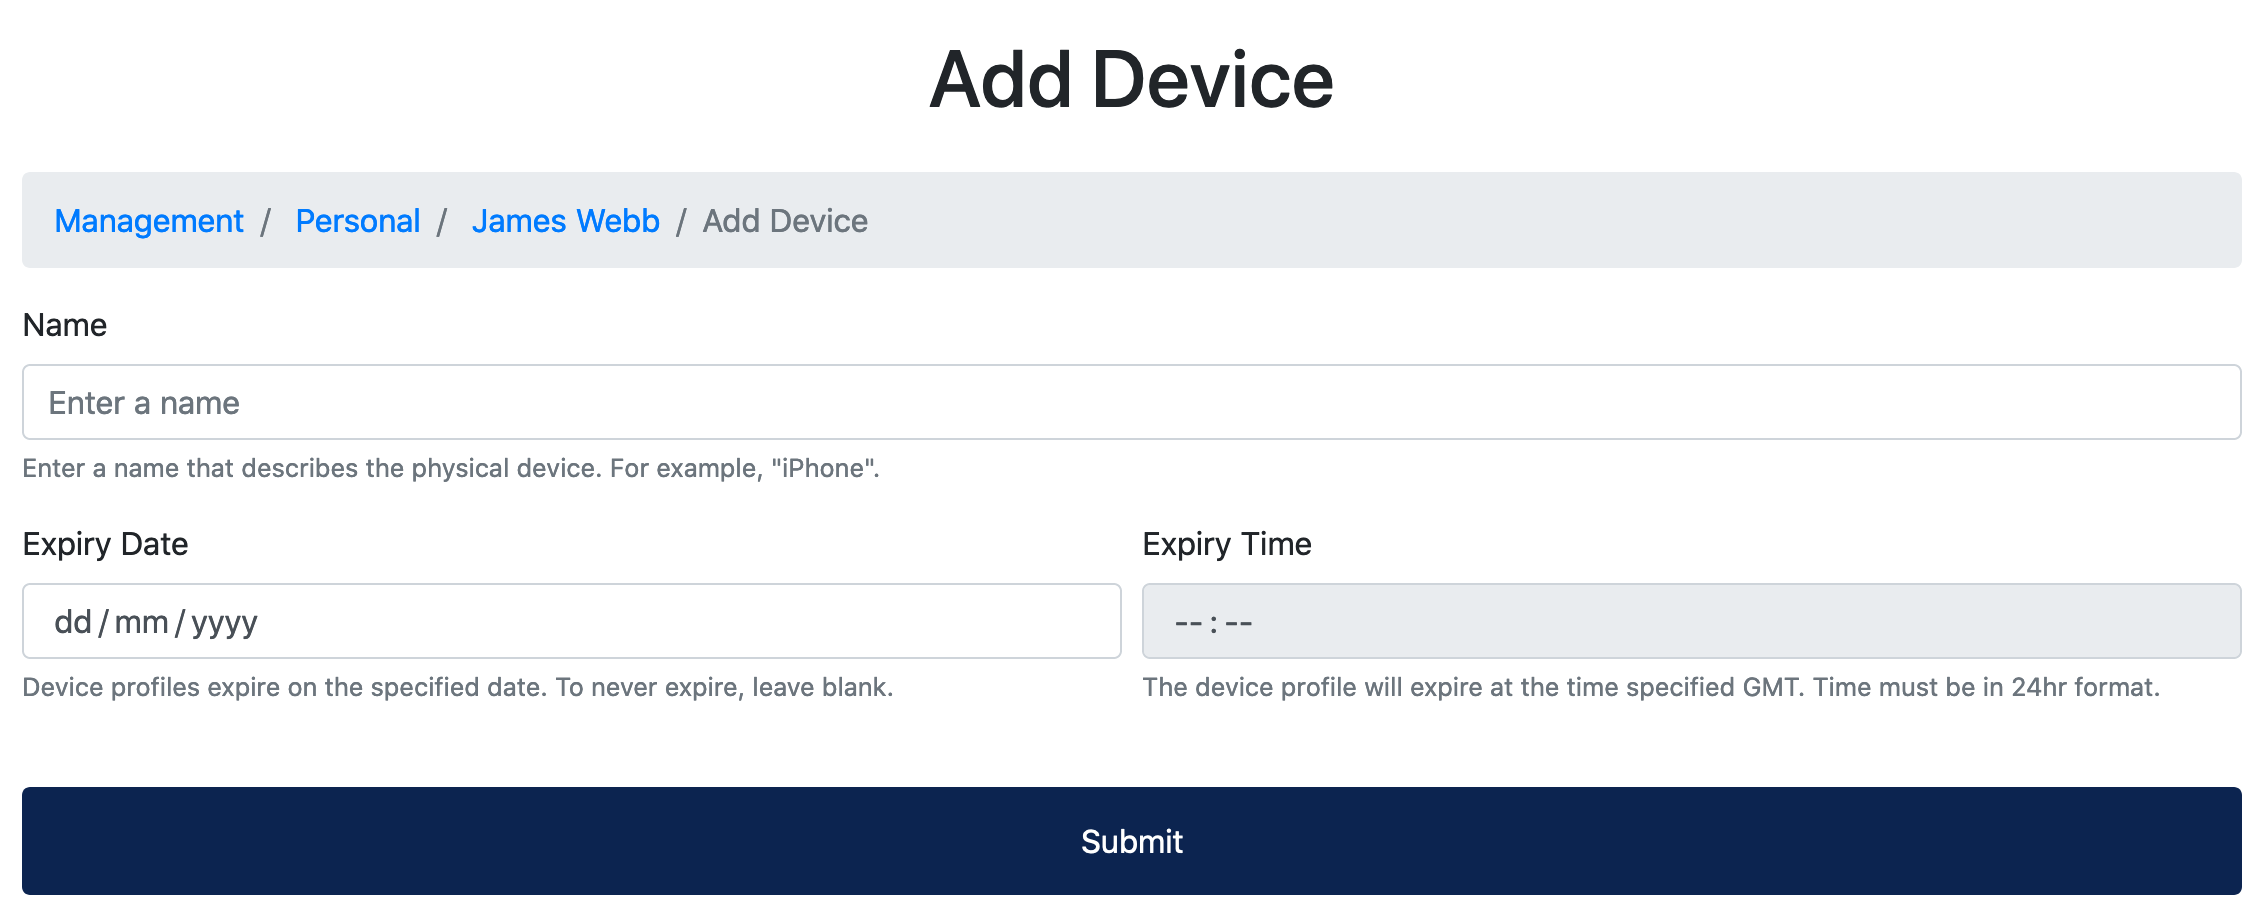
Enter the following parameters:
Name : A name for the device. E.g. Android
Expiry Date : Leave unfilled unless you wish to specify a date for device revocation
Expiry Time : Leave unfilled unless you wish to specify a time for device revocation
Note
A full description of all parameters can be found on the device creation docs page.
Press submit and the device will then be created. You will then receive an email with a one-time passcode (OTP). Download the UH VPN app for your platform and enter the OTP code to download the profile. Then you can connect and enjoy a fast, secure and private VPN connection!
Tip
Instructions for client apps can be found on the clients docs page.