AWS Simple Setup Guide
This guide is a walkthrough tutorial on setting up UH VPN on AWS. It contains step by step instructions on how to provision a private cloud server along with all the necessary steps on setting up UH VPN client applications.
The guide makes use of the publicly available AMI on the AWS marketplace to create servers for UH VPN as this provisioning technique allows an entire UH VPN deployment to be set up in less than 5 minutes!
Step 1: Create an AWS Instance
First create an account or login at: AWS. Then head over to the EC2 page, press launch and select UH VPN from the AWS Marketplace tab:

The UH VPN AMI is free to use, so go ahead and press continue to any pricing popups displayed.
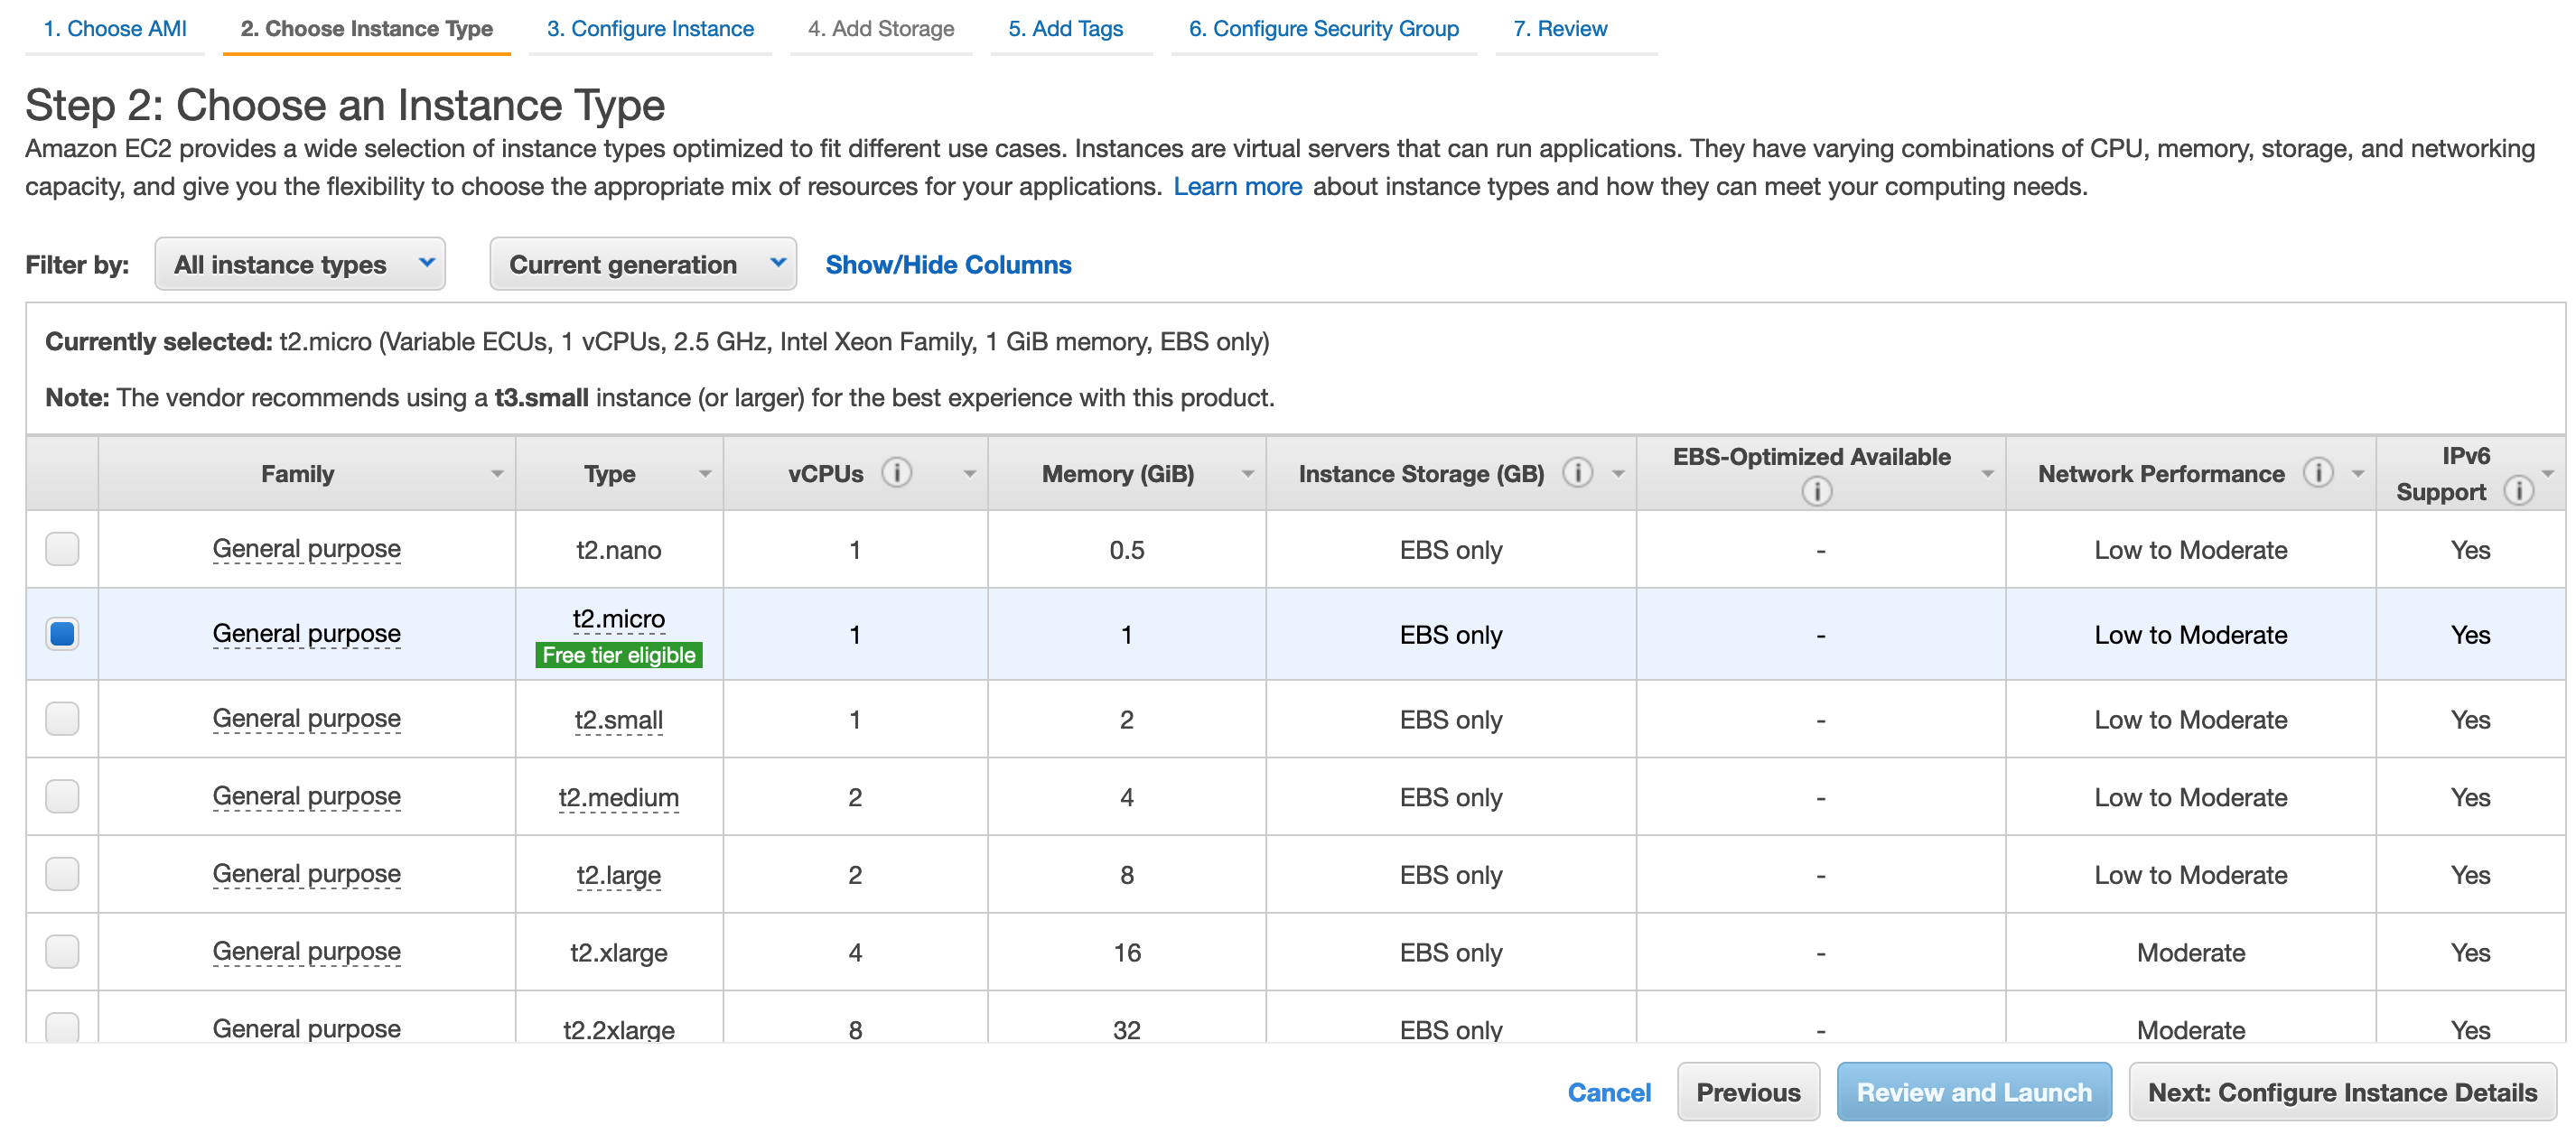
Use an instance size appropriate for your needs. In this guide we’ll set up UH VPN using a free tier
eligible instance, the t2.micro:
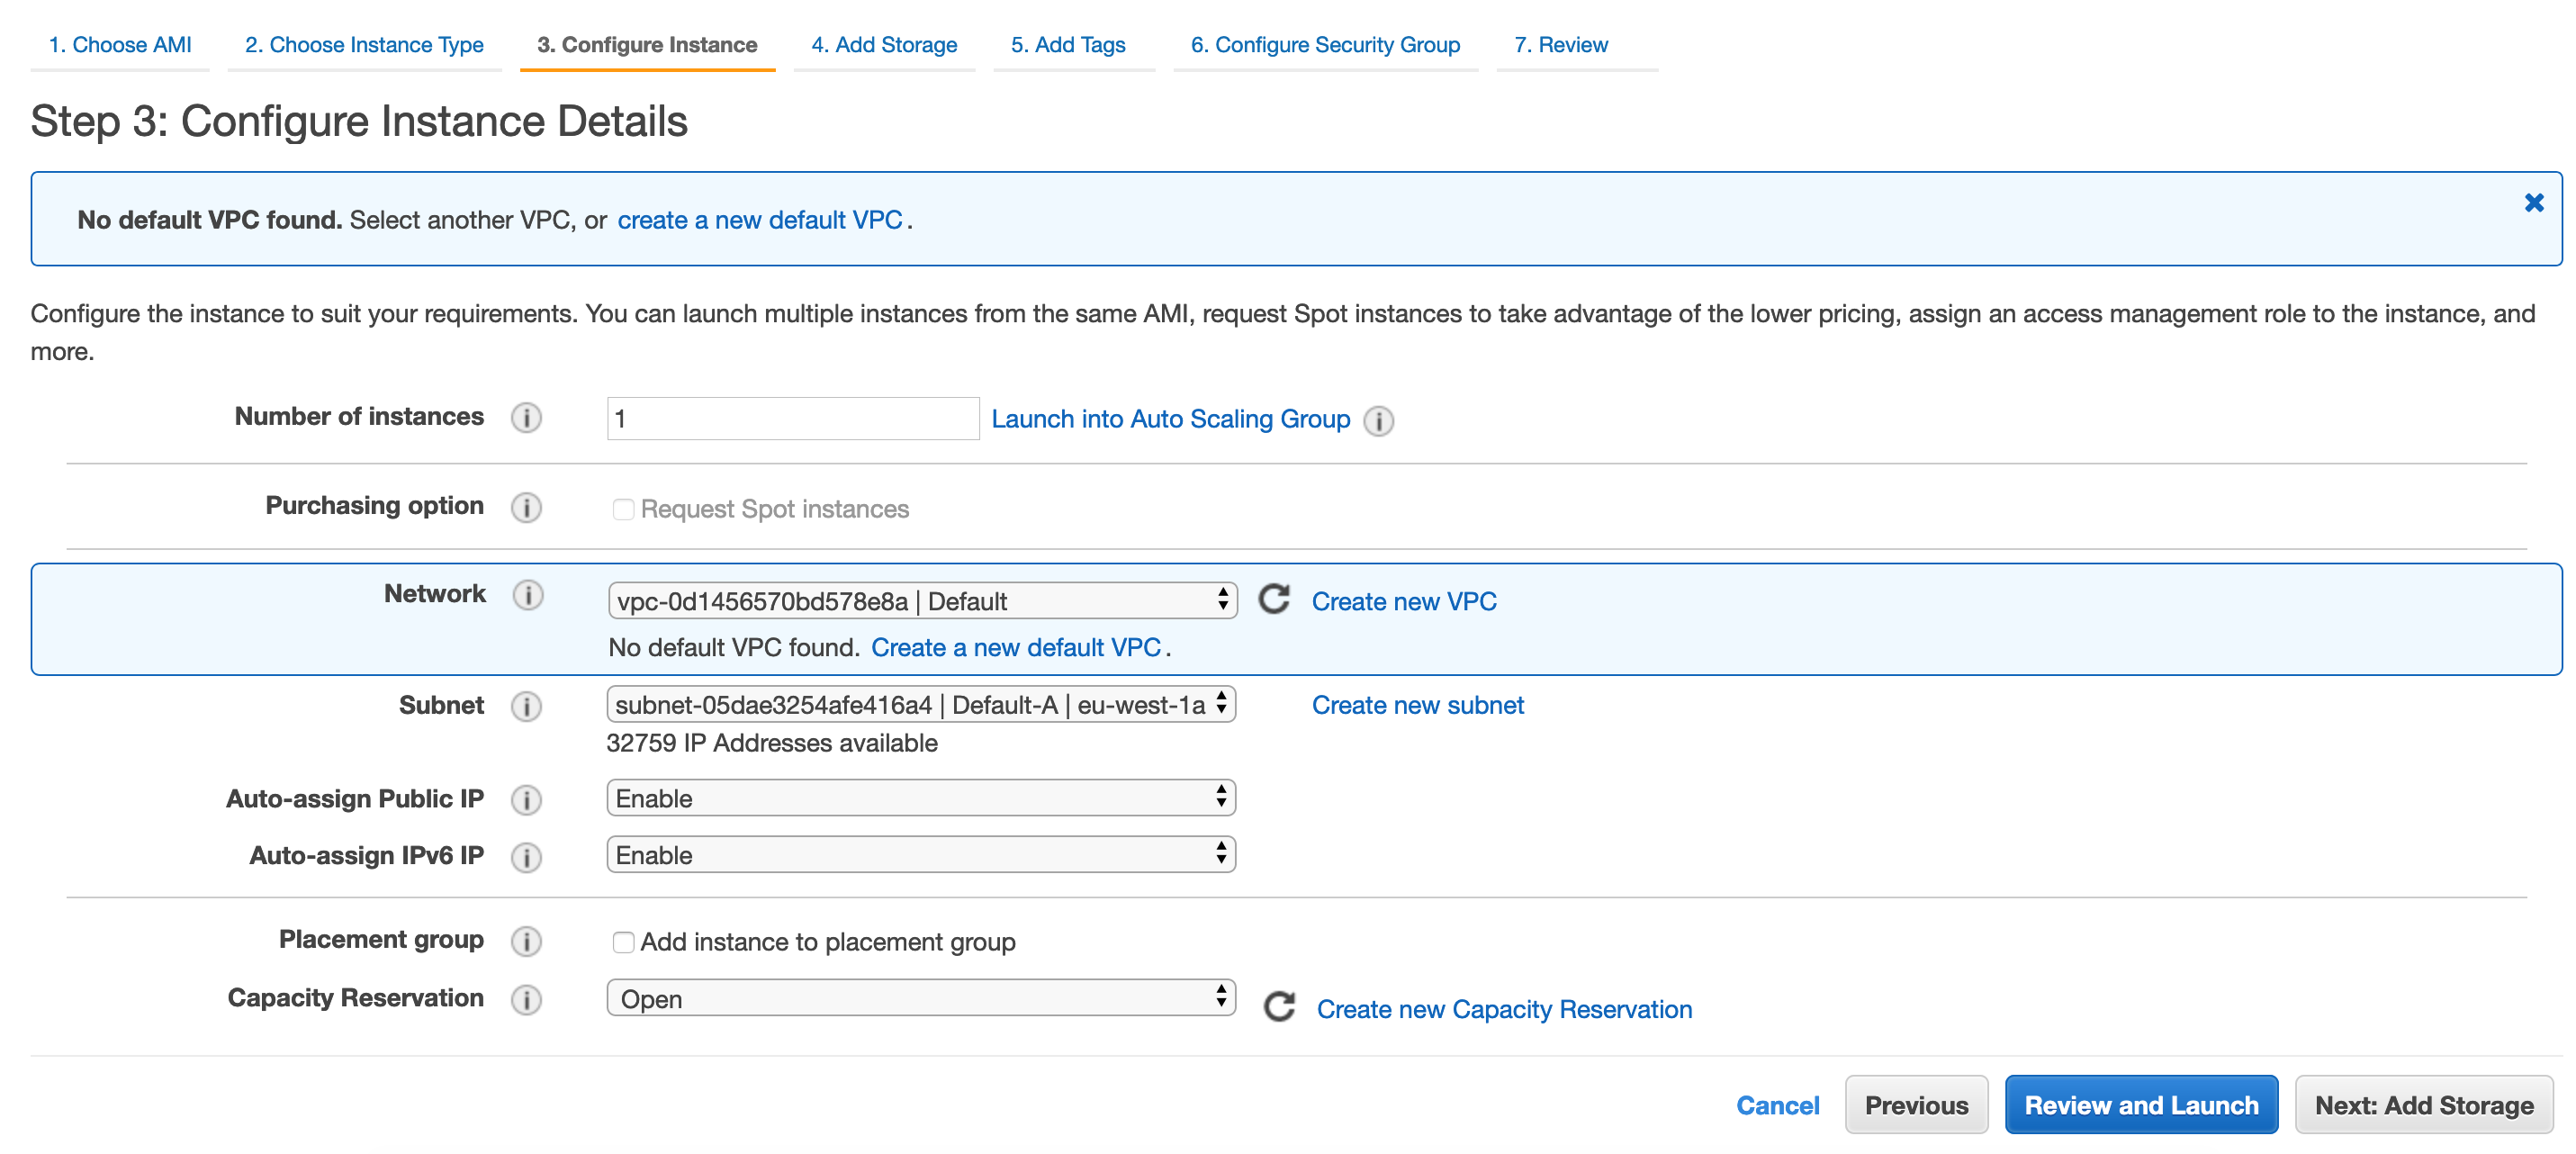
Ensure that you enable public IPv4 networking when prompted by enabling “Auto-assign Public IP”:
Choose an appropriate value for storage size, 8GB is sufficient for most usages:

Skip the next step regarding tags, and configure security groups:
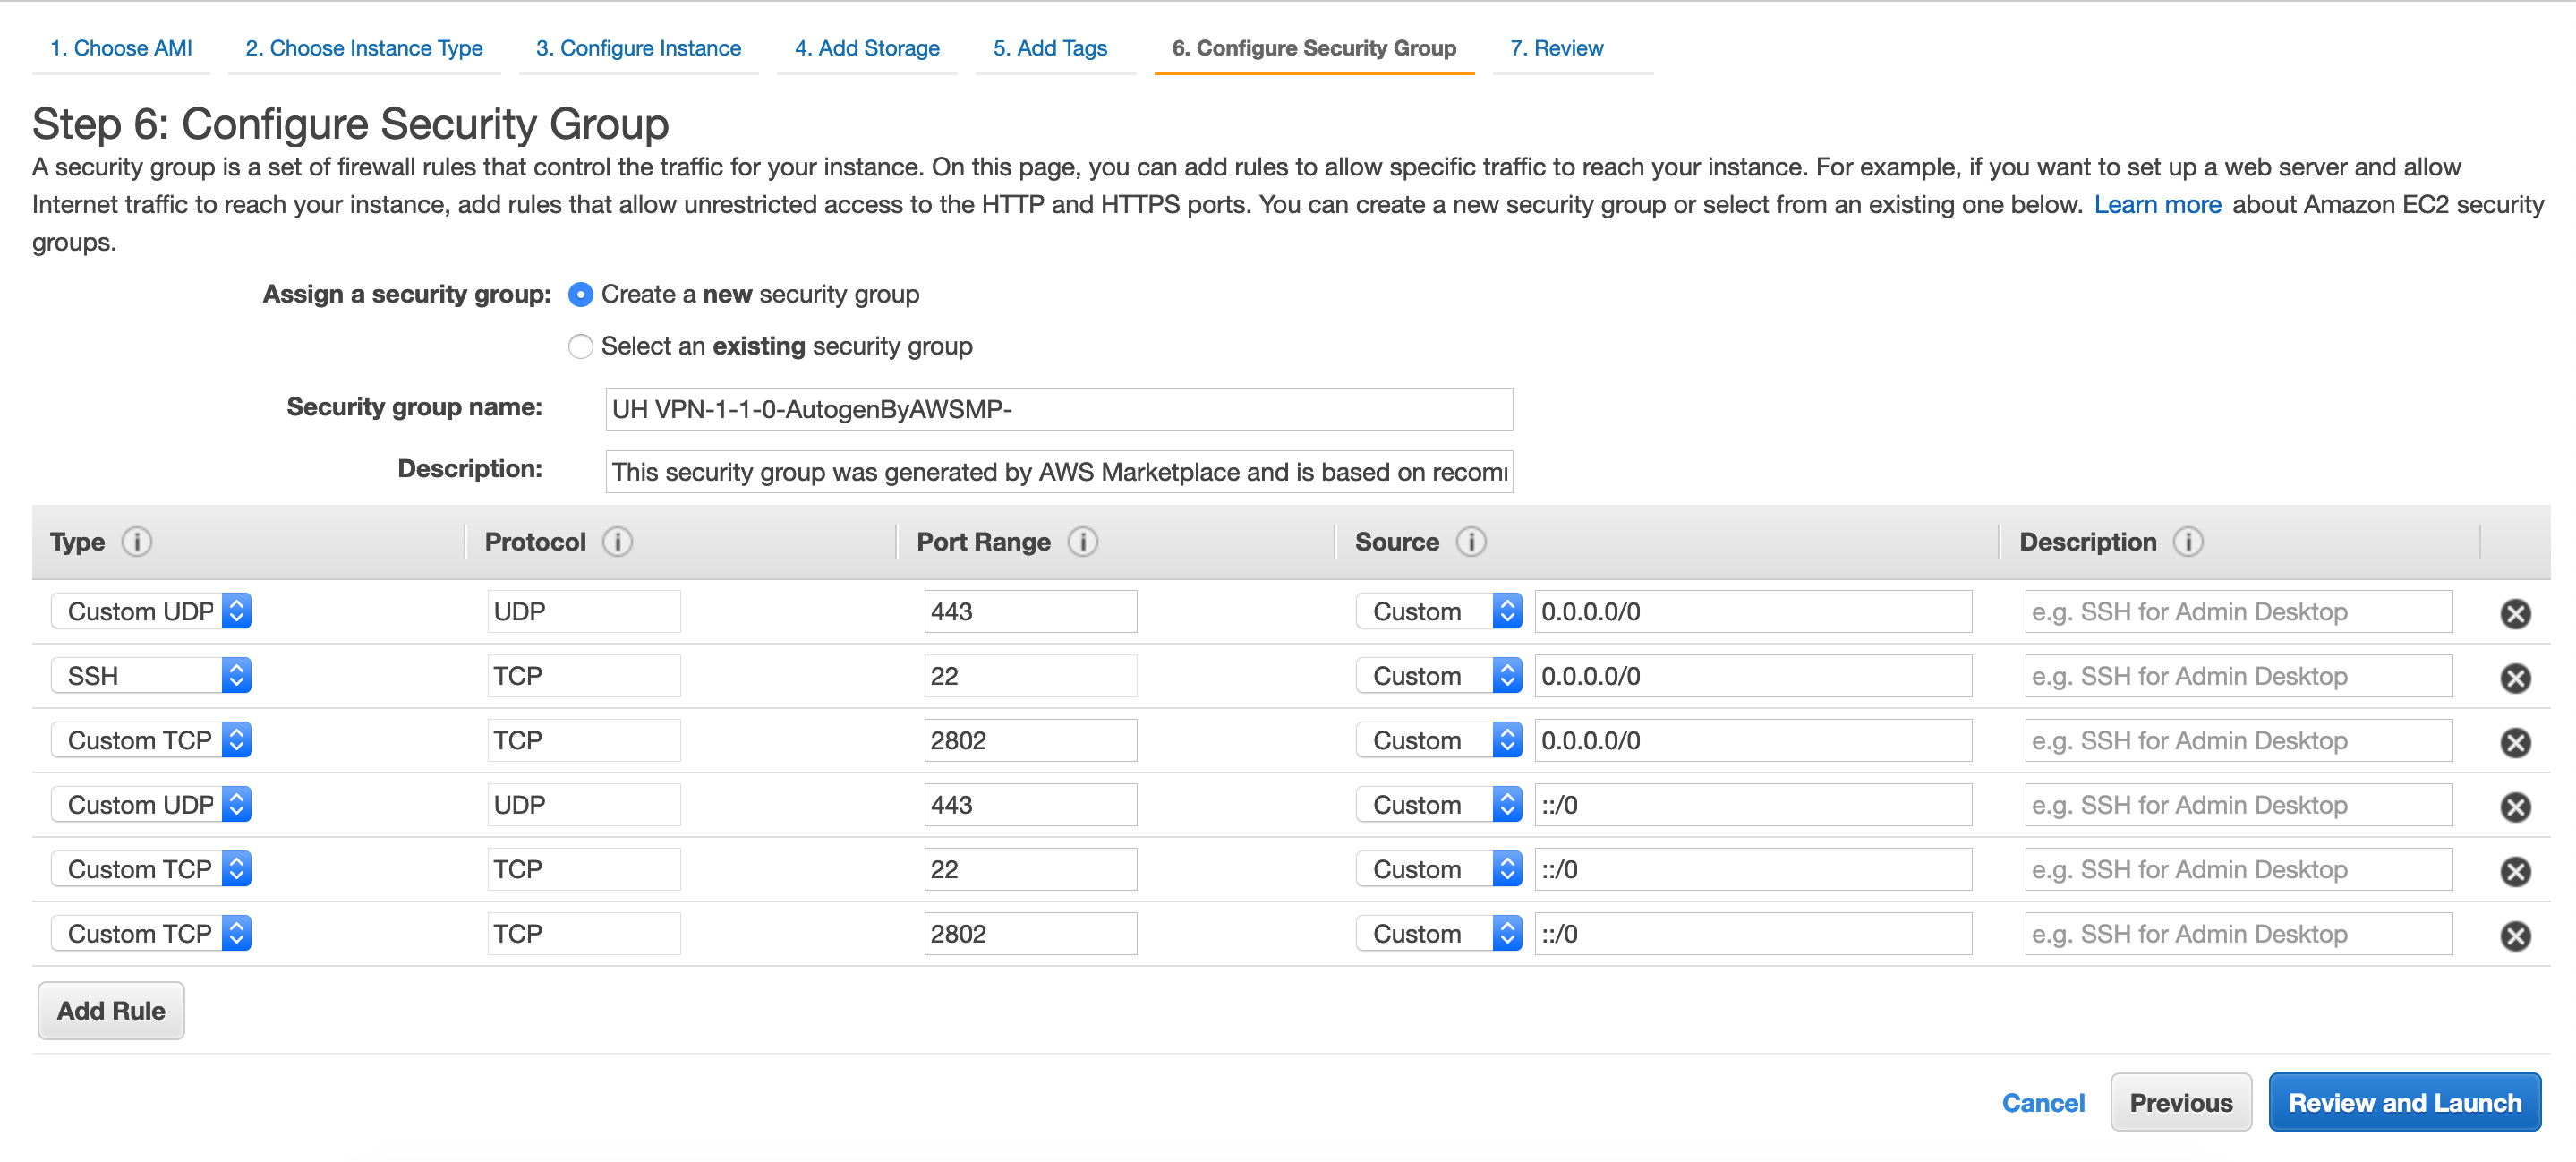
Accept the default rules provided by the UH VPN image and press “Review and Launch”, then press “Launch” to create the instance!
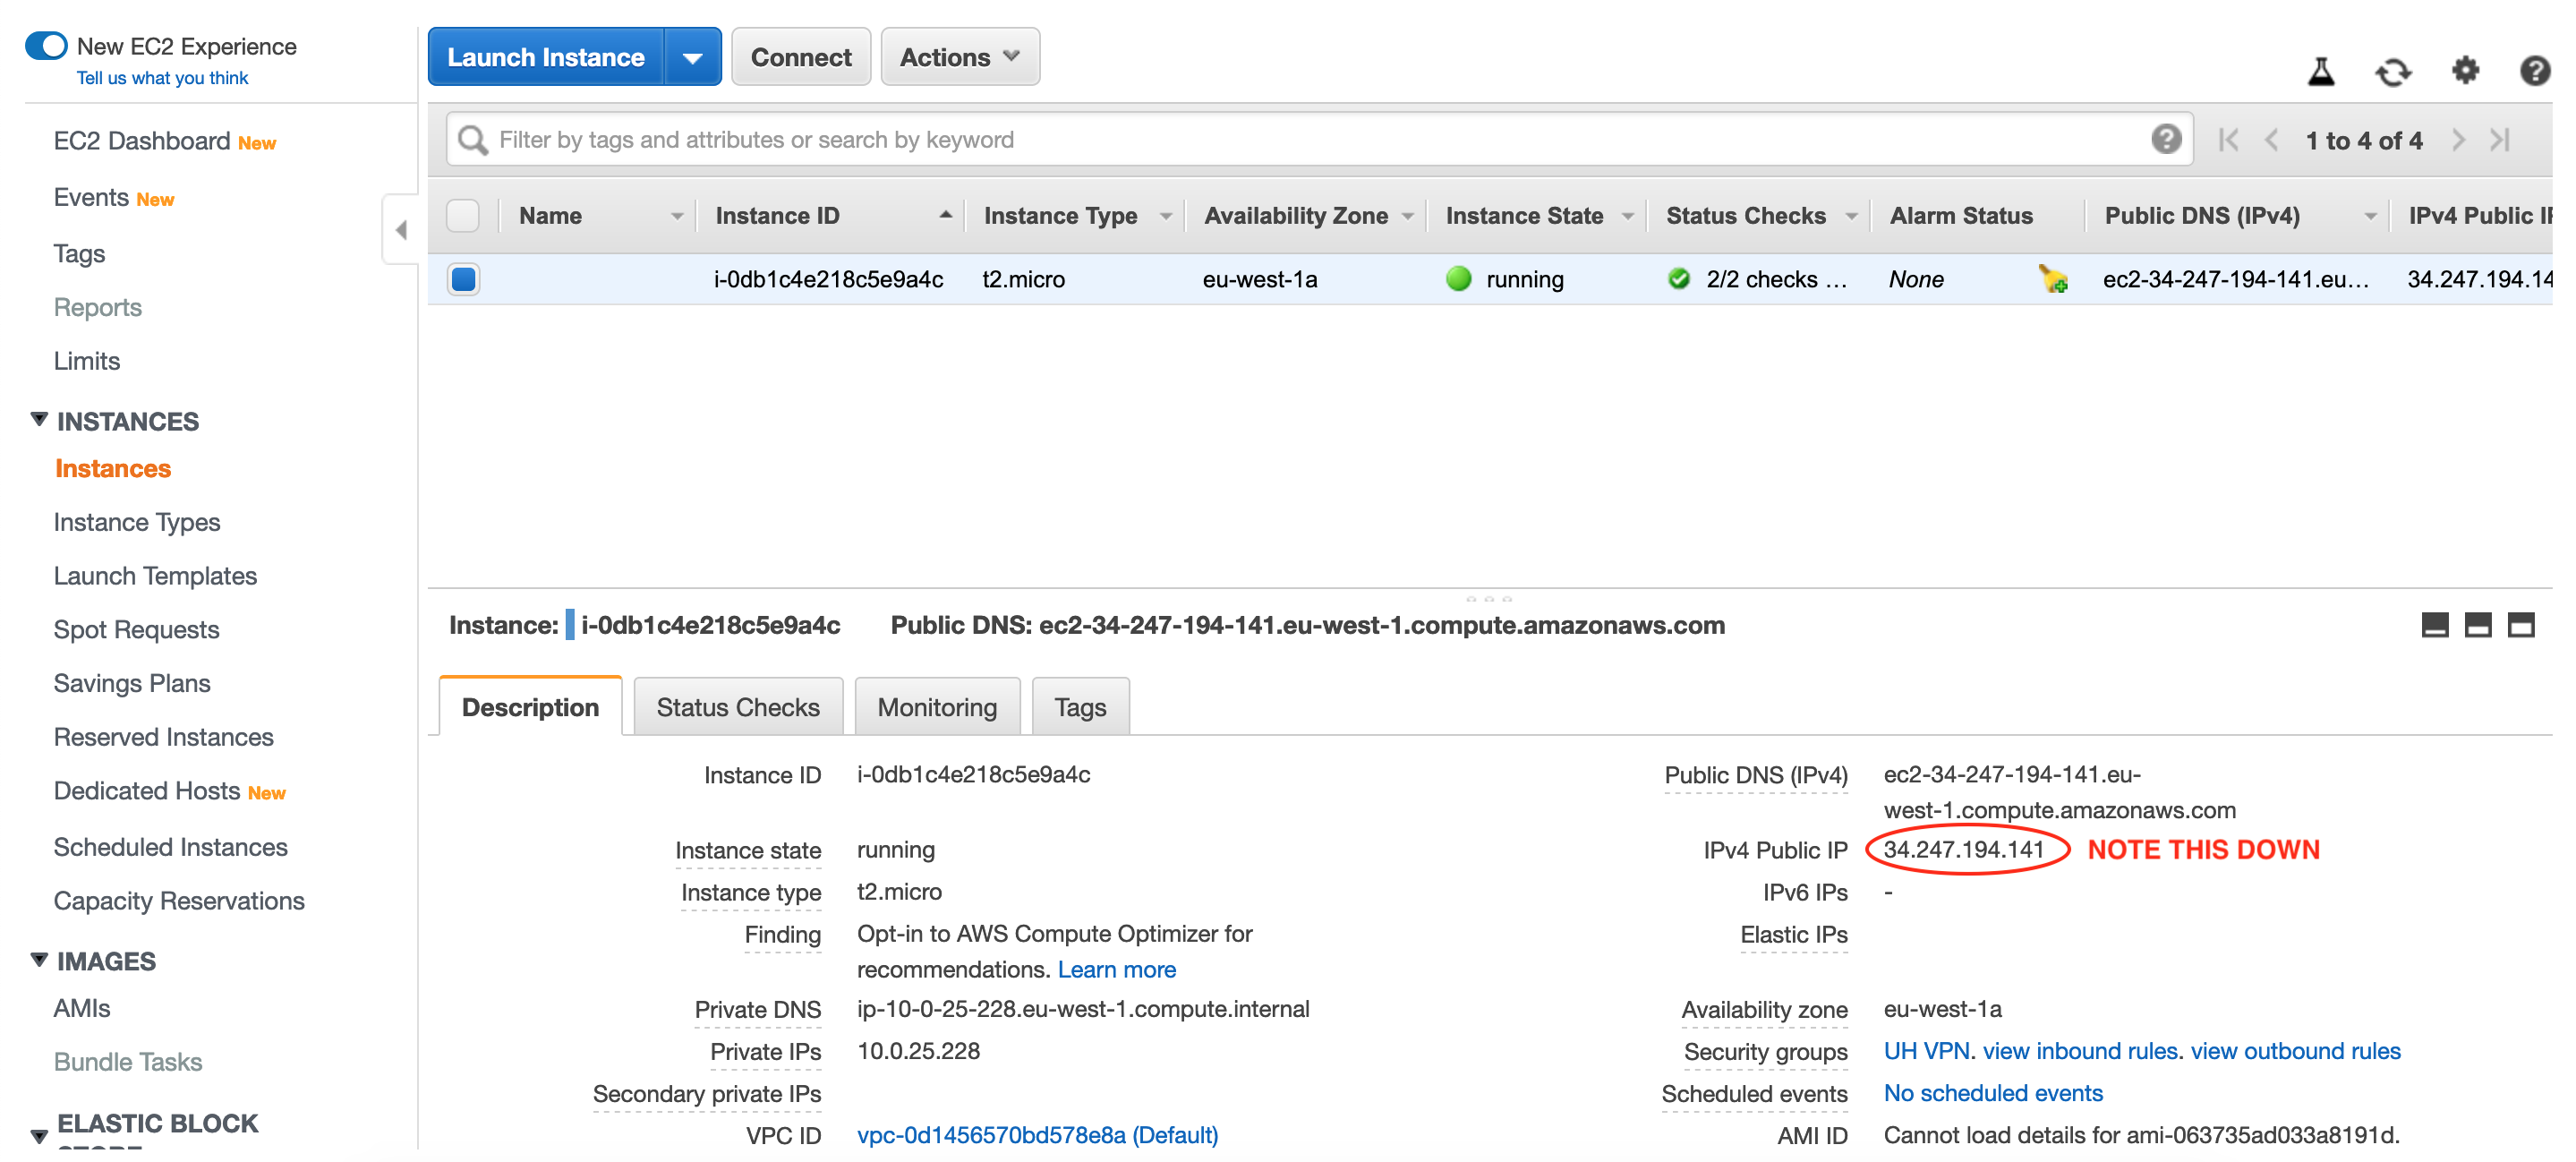
Now head over to the AWS EC2 dashboard and note down the IPv4 address of the newly created instance as it’ll be used later in this guide:
Step 2: Create a Server on the UH VPN Website
The UH VPN website is the command and control centre for the VPN deployment. All VPN settings are managed through this interface. The first step (if you haven’t done so already) is to create an account. Then once logged in, click the management tab and then press the “Create New Group” button. One is then presented with the following page:
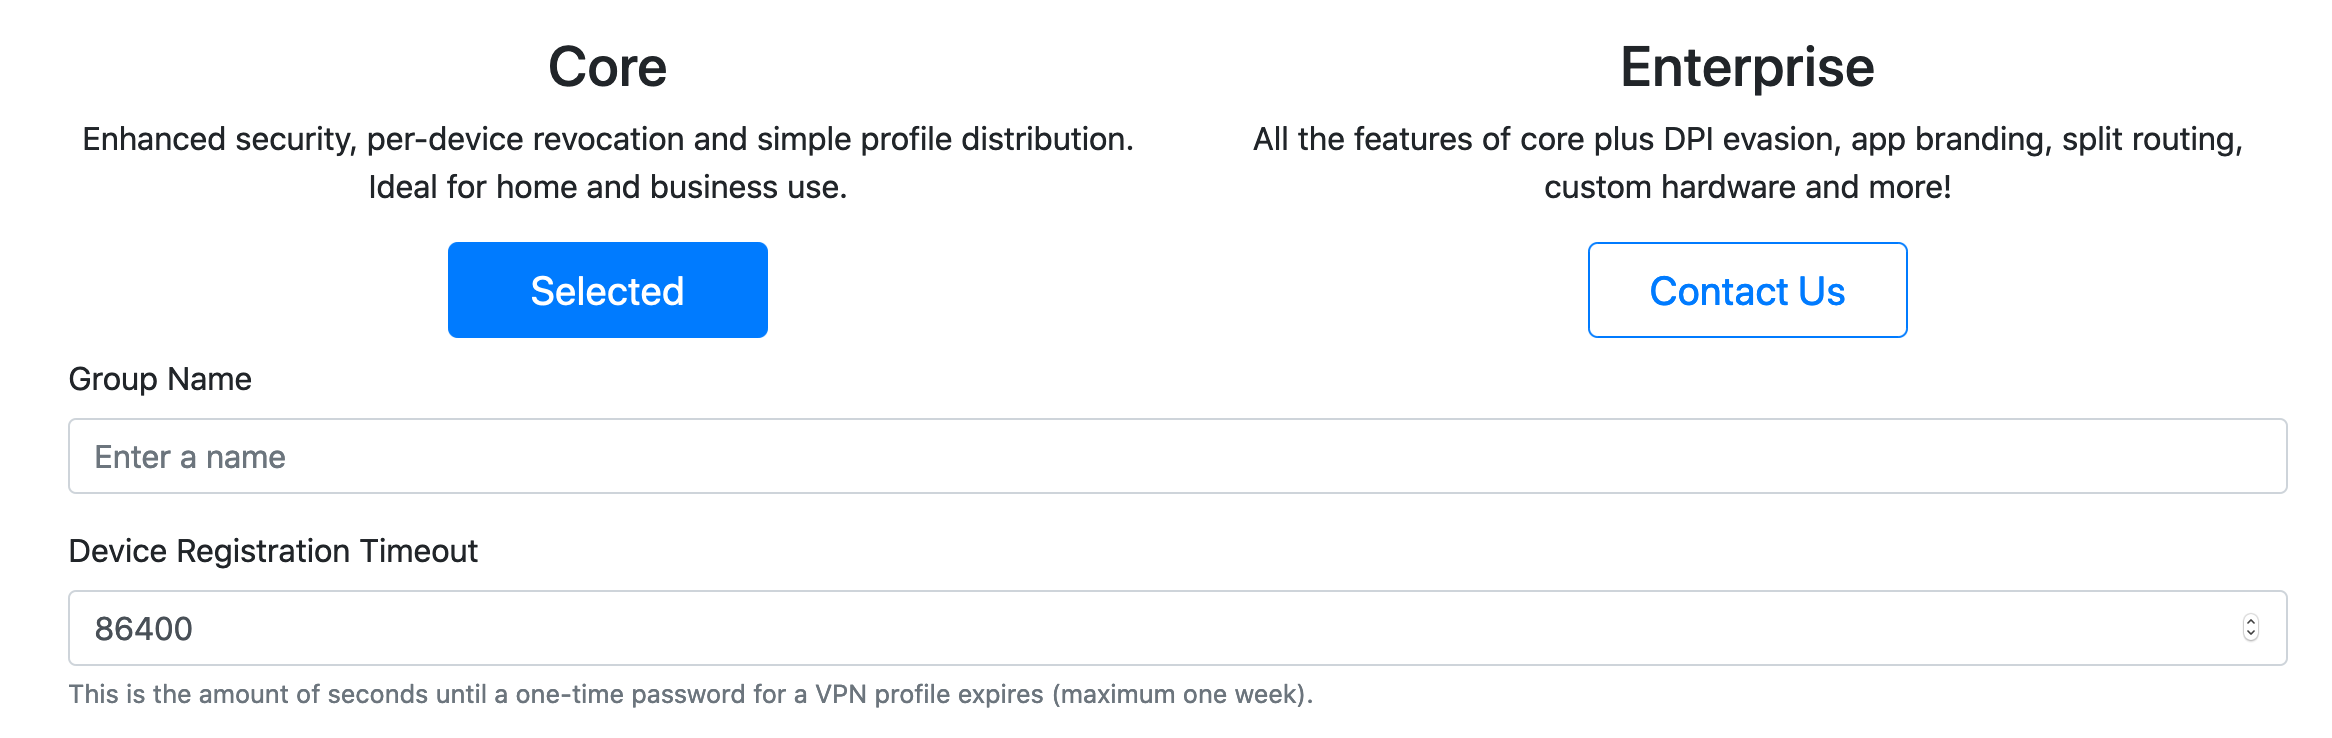
If you’re just using UH VPN for a single device, go ahead and click the “Free Plan” button. However, if you’d like access to more features such as custom app branding, unlimited devices and advanced VPN options, then choose the premium plan. A breakdown of the options can be seen on the Creating Groups docs page. The premium plan is billed monthly at the rate of £1 per device.
Choose an appropriate name for the group E.g. Personal and then leave the timeout set at 86400. Then press the “Submit” button and the group will be created.
Click on the group name that has just been created and the following page will be presented:
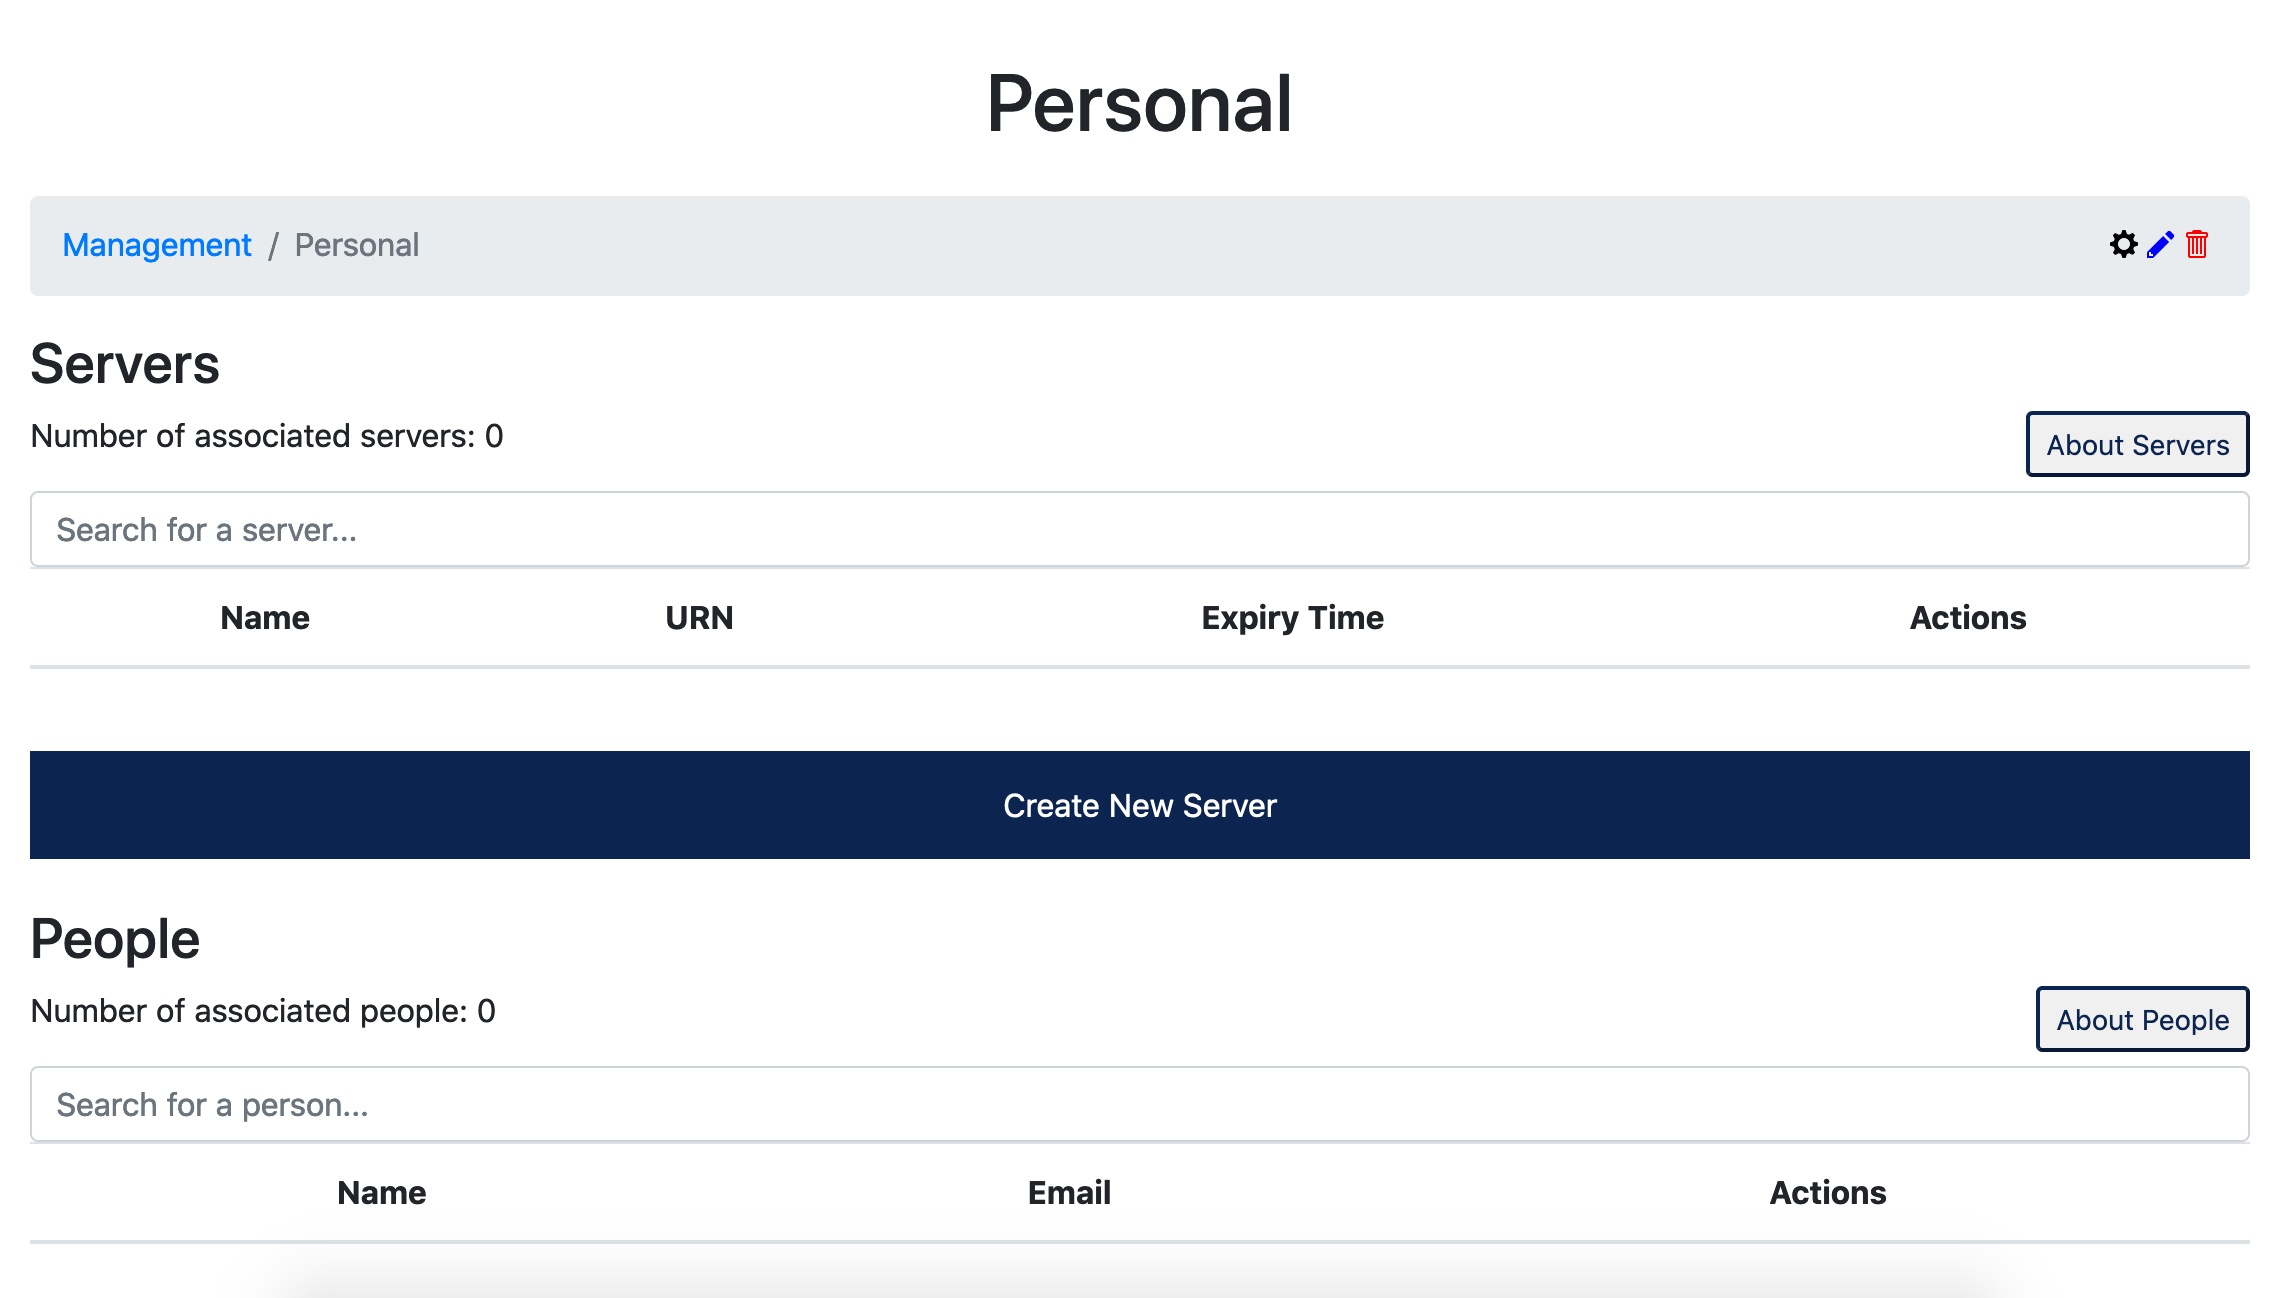
The first step is to create a UH VPN server, click the “Create New Server” button and the following page will be presented:
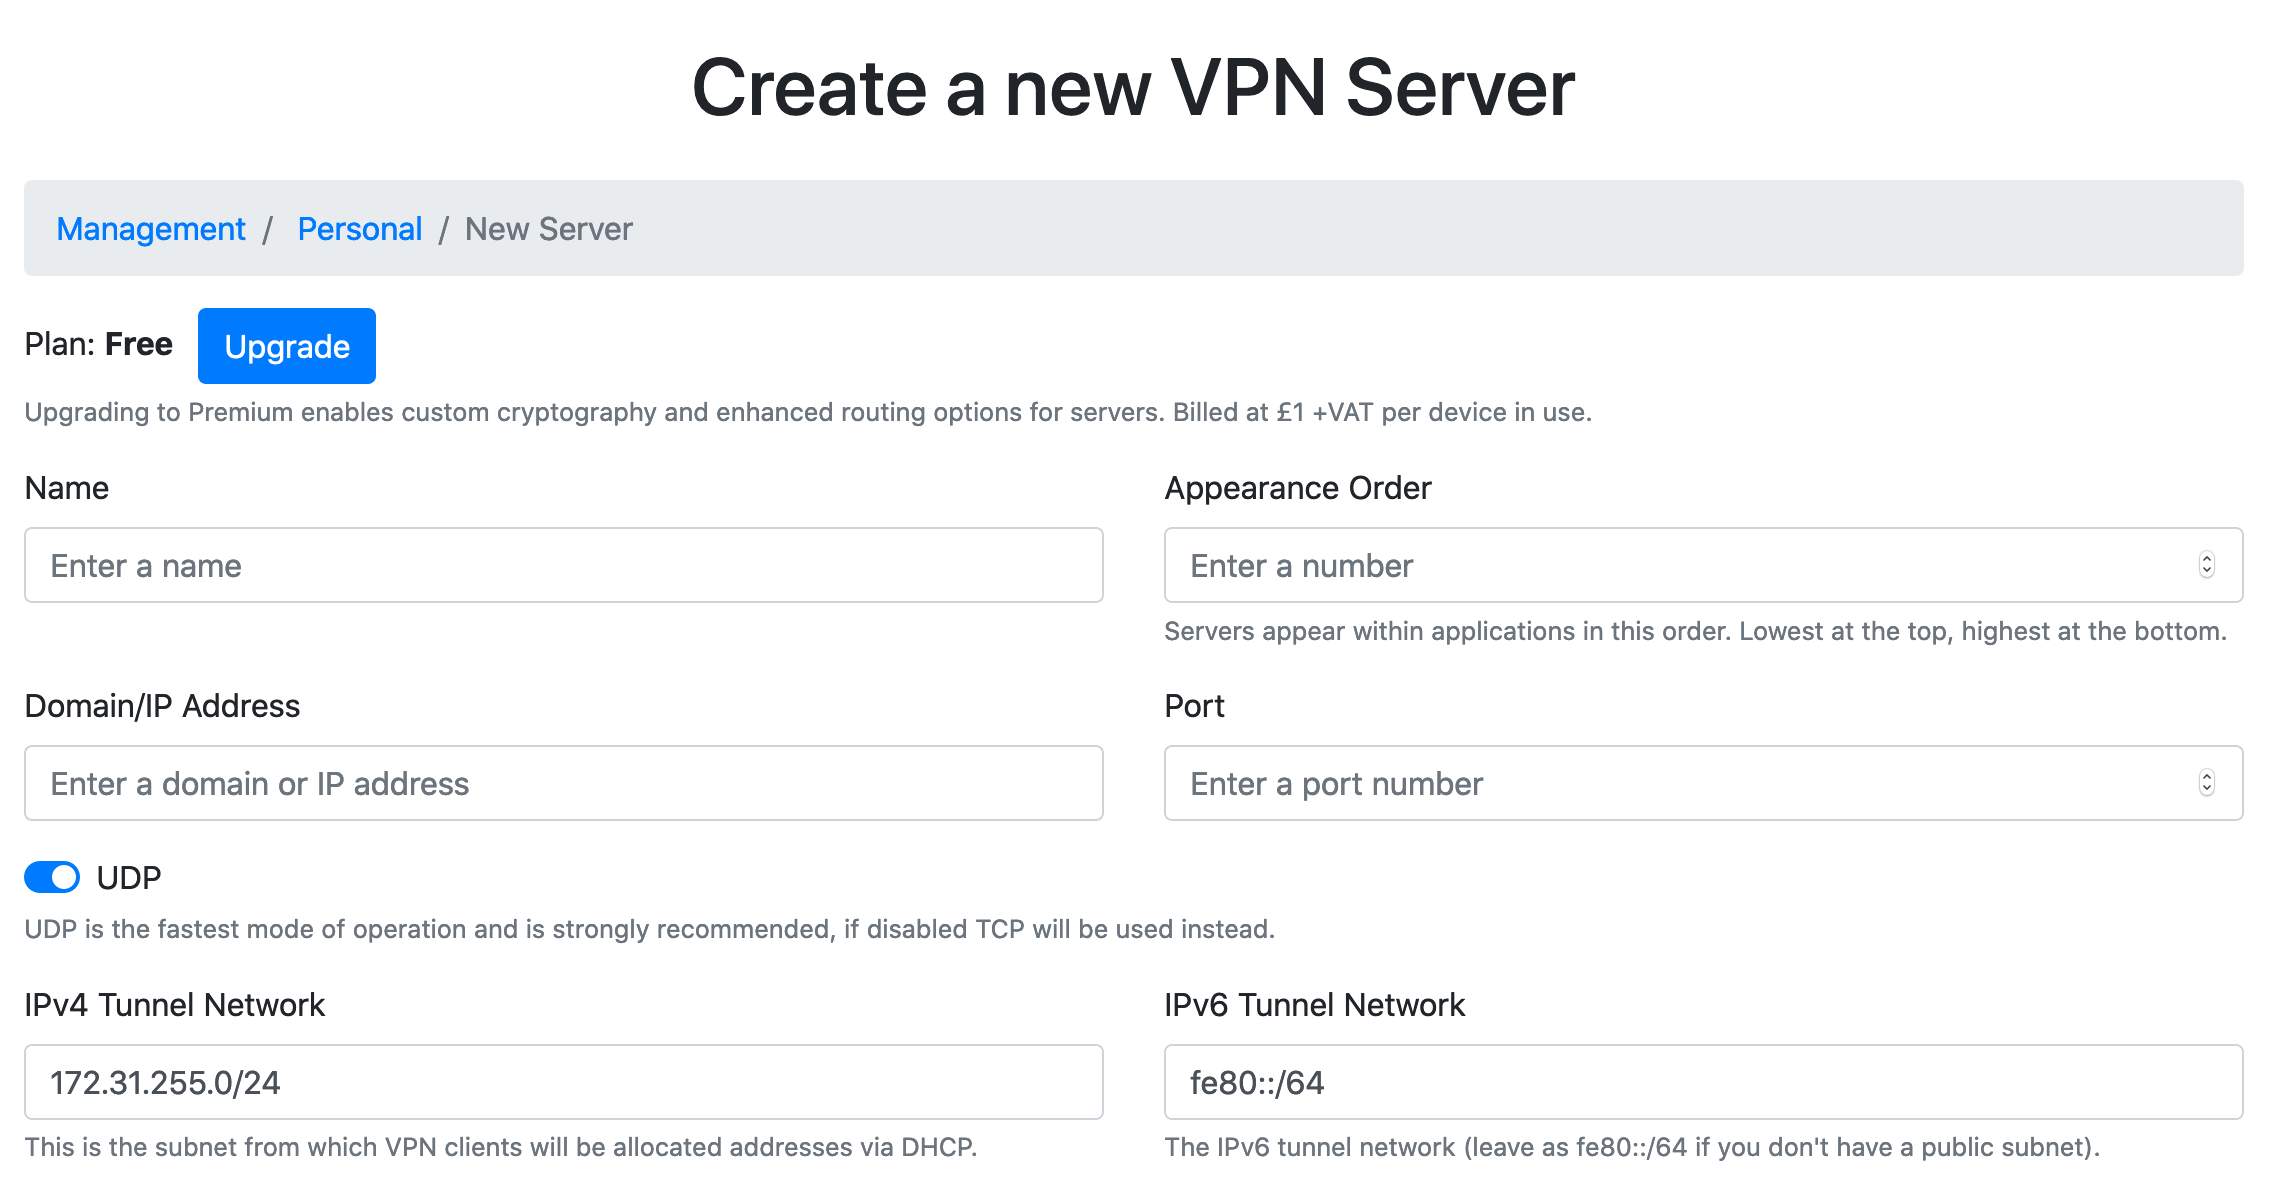
Enter the following parameters:
Name : UDP
Appearance Order : 0
Domain/IP Address : IPv4 Address noted from the AWS instance earlier
Port : 443
UDP : Enabled
IPv4 Tunnel Network : 172.31.255.0/24
IPv6 Tunnel Network : fe80::/64
DNS Servers : 1.1.1.1, 1.0.0.1
Add Forwarding Rule : Enabled
Add NAT Rule : Enabled
Press submit and the server will then be created.
Note
A full description of all parameters can be found on the server creation docs page.
Once created, press the  icon to obtain a UH VPN API token for the server. Copy
and paste this to somewhere safe as it’ll be used later.
icon to obtain a UH VPN API token for the server. Copy
and paste this to somewhere safe as it’ll be used later.
Step 3: Configuring the Instance
Login to the newly created instance via SSH using the username “ubuntu”. Once logged in, a UH VPN setup script will appear:
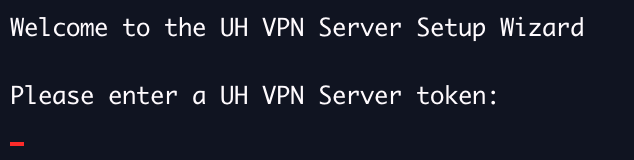
Simply paste the UH VPN API token obtained in step 2 into the prompt and press Enter:

Only one token is going to be added as we only wish to associate one server to this instance, so answer with “n”:
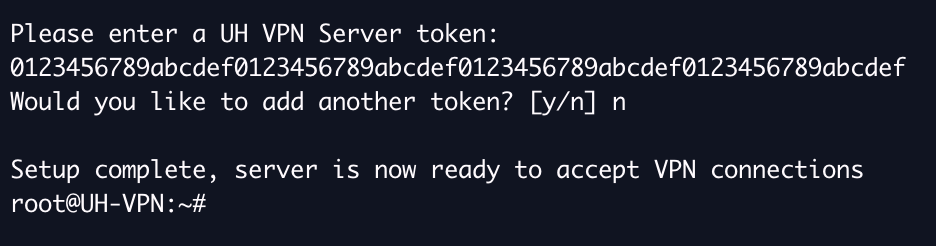
The instance is now successfully configured and ready to accept UH VPN connections!
Step 4: Installing Client Apps
This is the final step in the set up process. First login to the UH VPN website and navigate to the group you created earlier. Now it’s time to make a new person who’s authorised to access the VPN server you just created. Click the “Create New Person” button and the following page will be presented:
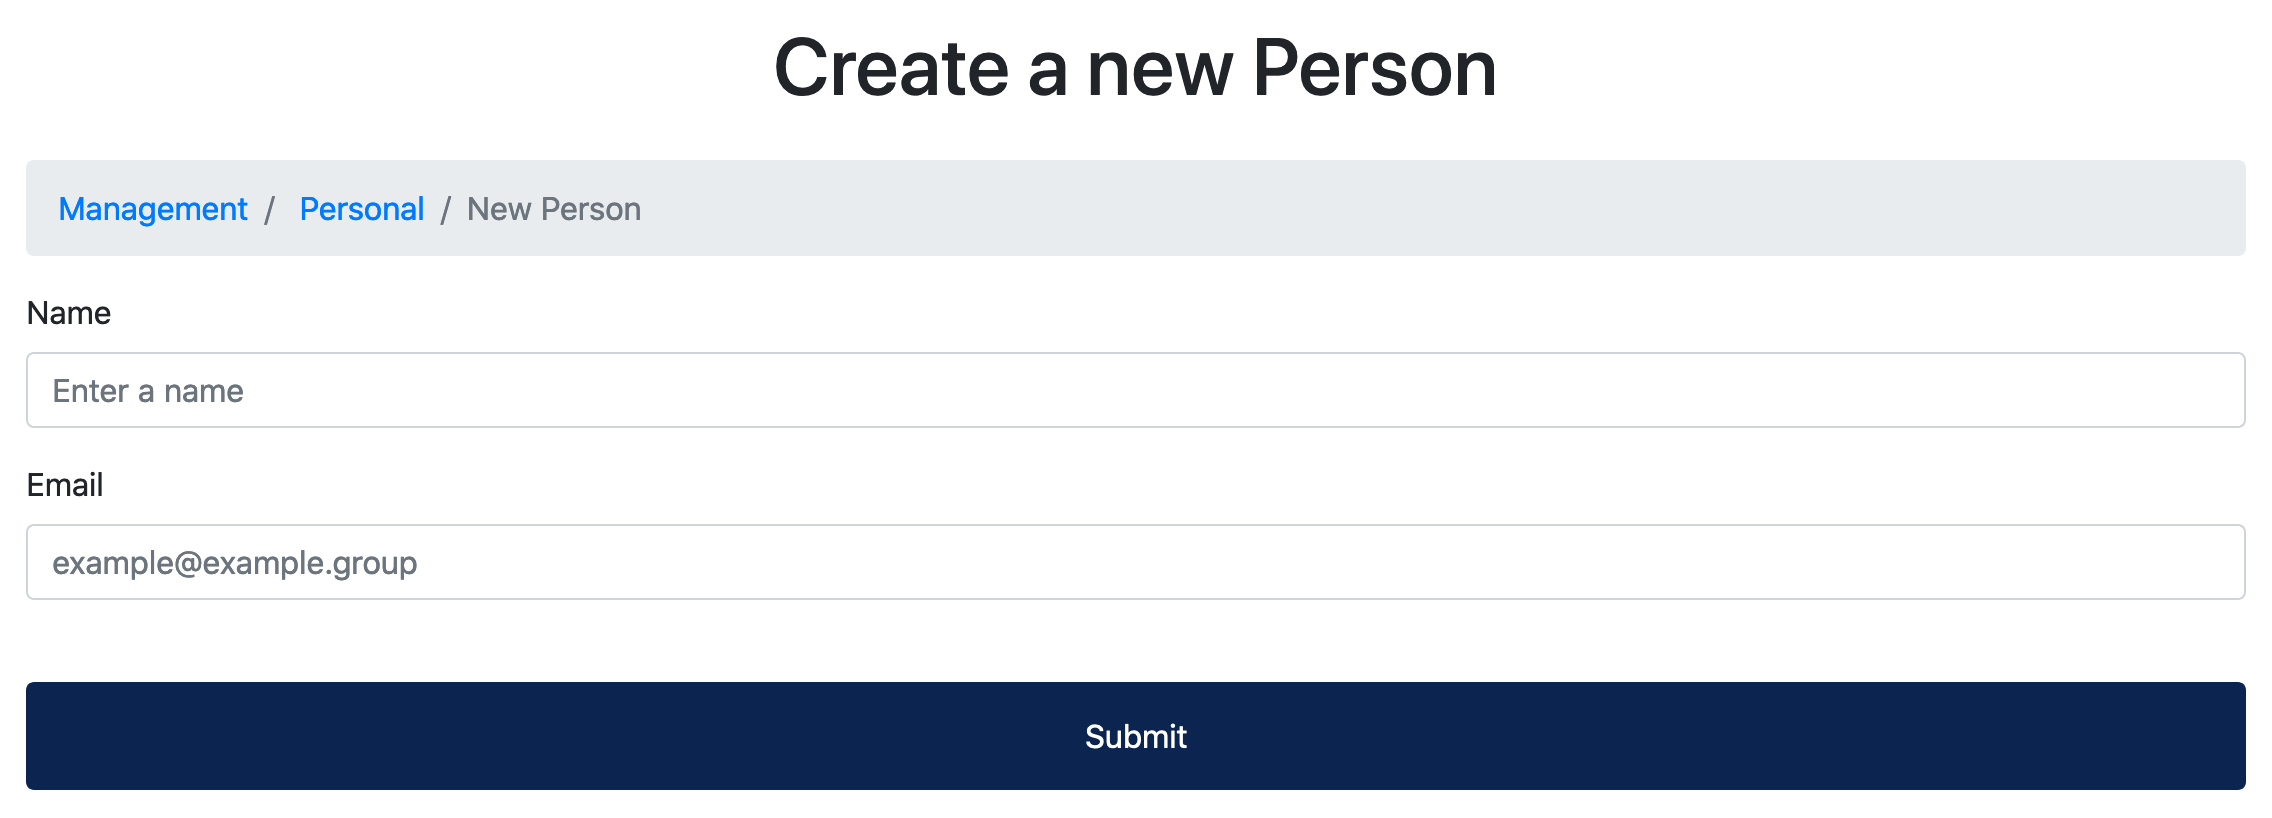
Enter your name and email address, then press submit and the person will then be created.
Next it’s time to associate a device to the person that’s just been created. To do so, click the name of the person and then press the “Add new device” button and the following page will be presented:
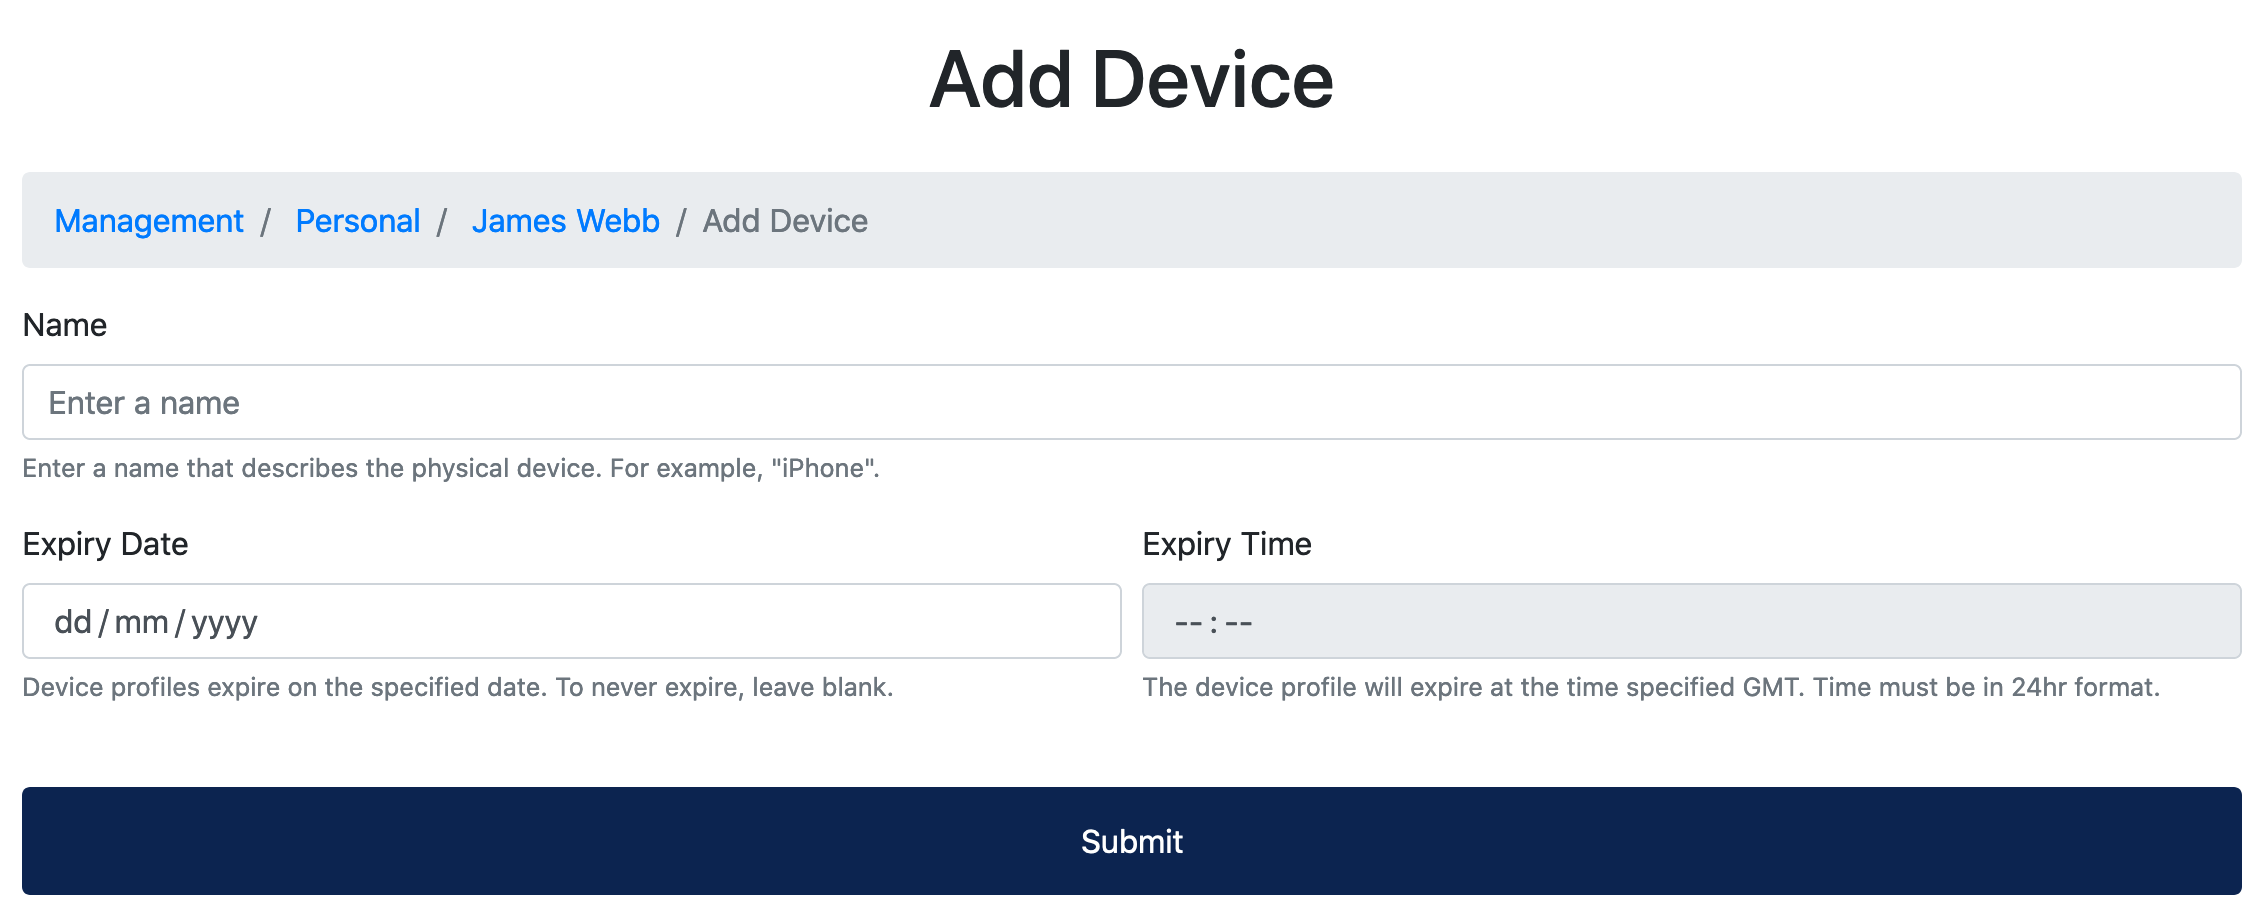
Enter the following parameters:
Name : A name for the device. E.g. Android
Expiry Date : Leave unfilled unless you wish to specify a date for device revocation
Expiry Time : Leave unfilled unless you wish to specify a time for device revocation
Note
A full description of all parameters can be found on the device creation docs page.
Press submit and the device will then be created. You will then receive an email with a one-time passcode (OTP). Download the UH VPN app for your platform and enter the OTP code to download the profile. Then you can connect and enjoy a fast, secure and private VPN connection!
Tip
Instructions for client apps can be found on the clients docs page.